Make Your Own Teethy Pumpkin
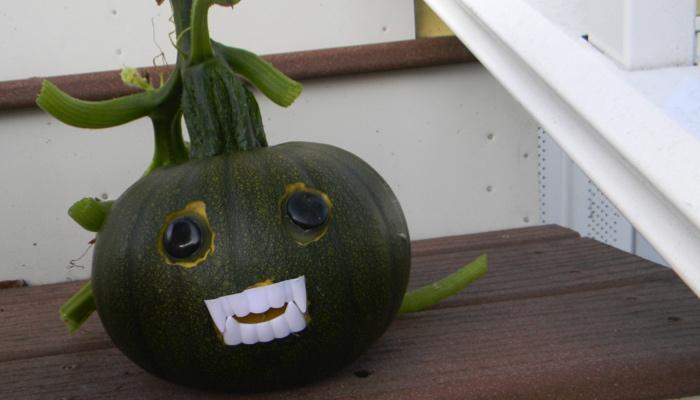
I’m always looking for fun, creative, tactile and easy Halloween pumpkin ideas that my son can participate in and enjoy. I first saw this idea to use vampire teeth in a jack-o-lantern on Martha Stewart’s website, then it started popping up all over Pinterest.
I figured that if I did the carving, the rest would be easy for Ivan. I also decided to replace the small pin eyes in the original craft with big gooey sticky eyes for an extra tactile experience (plus it looks neat). Here’s how we did it….
What You’ll Need:
- a pumpkin (whichever size you prefer)
- carving knife
- plastic vampire teeth
- sticky eye balls
Making Your Teethy Pumpkin
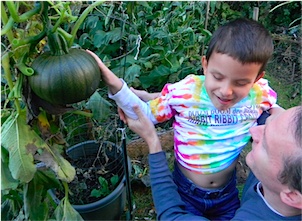 We decided to grow our own pumpkin this year. This means that our jack-o-lantern project actually began back in the spring when we planted our garden. Ivan has helped tend and water the garden all summer and we were lucky enough to get one pumpkin on our vine (although as you can see it wasn’t quite orange yet when we picked it).
Of course, if you don’t want to grow your own pumpkin, you can still pick your pumpkin at a pumpkin farm. This way your child can still learn about where pumpkins come from and how they grow.
And yes, picking out your own pumpkin at the grocery store works, too! Either way, try to have your child involved from the beginning. Ivan absolutely loves to feel all the pumpkins stacked at the store. There are so many in one place and it feels like the pile goes on forever!
 Next, I measured the space for the teeth and cut out the hole with a knife. I’ve never been very good at creating those perfect cuts in a jack-o-lantern, but I did my best. I also skipped scooping out the seeds inside because we aren’t going to light the pumpkin with a candle and I liked the look and feel of the pumpkin being whole.
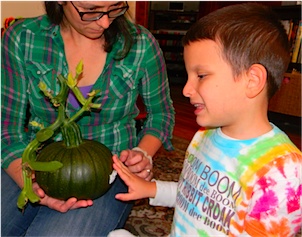
I had Ivan help stick the vampire teeth in the hole. He really enjoyed touching the teeth once they were in the pumpkin!
I also cut out the holes for the eyes and we let Ivan check out the sticky, gooey, rubbery eye balls before we put them in the pumpkin. At first he didn’t like them at all! We told him the eyes were going to be sticky, but he didn’t expect them to be so sticky!
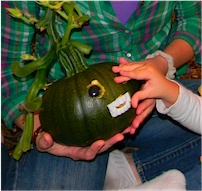 Once he got used to the sticky eye balls, Ivan helped put them in the pumpkin. He really liked touching the eye balls once they were inside the pumpkin. He seemed really interested in how the items (the teeth and eyes) felt different once they were in the pumpkin and part of the jack-o-lantern’s face.
I’d love to make a whole family of these grinning teethy pumpkins, but I think one is enough for now.
Check out this video below to see what our pumpkin looks like and how much fun he is to touch:
Related Posts
Holiday Crafts and Ideas
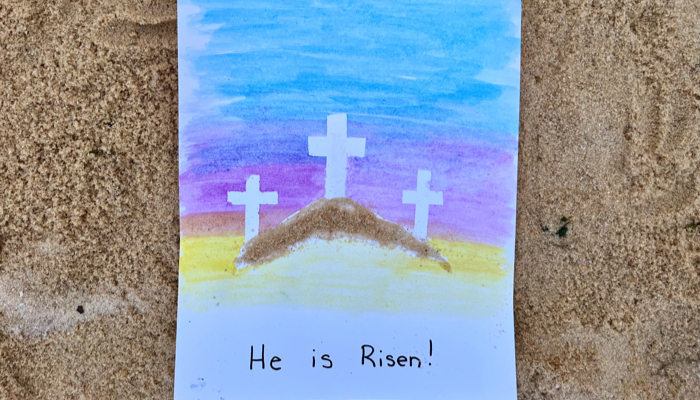
Resurrection Water Color Craft
Celebrate Easter with this Resurrection Water Color Craft, perfect for little ones. They’ll love painting the beautiful sky and adding sand to finish it off.
Holiday Crafts and Ideas
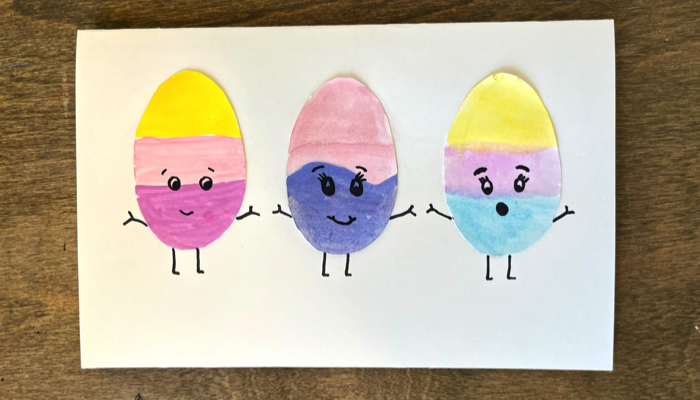
Easter Egg Greeting Card Craft
Turn your child’s painting into an adorable Easter Egg Greeting Card Craft. With just a few supplies, you can create this fun surprise to send to friends and family.
Cooking and Kitchen Play, Holiday Crafts and Ideas
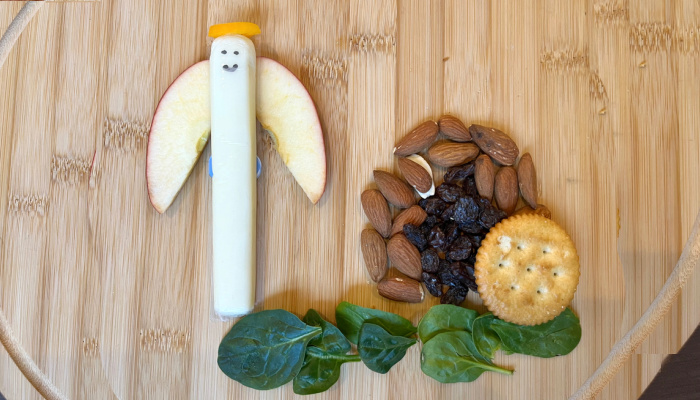
Easter Resurrection Snack
This Easter Resurrection Snack will delight your little ones. With these healthy ingredients, you can teach your child the true meaning of Easter.