Exploring the Universe: 5 Space-themed STEM Activities for Kids
This post may contain affiliate links; please see our terms of use for details.
- Space STEM activities help your child learn about the solar system, planets, and the Earth, moon, and stars while also working on their fine motor, numeracy, literacy, language, and other skills.
- Space STEM activities do not have to be formal experiments and they can be very cool and creative, allowing your child the freedom to explore the galaxy and our universe with their imagination.
- Inspire an interest in the science of our sun, moon phases, and the workings of the solar system with fun and easy space activities that you can do at home with materials you probably already have.
It’s never too early to introduce STEM activities to your kids. STEM stands for science, technology, engineering, and mathematics.
While it may sound like a lot of work, space-themed STEM activities for young kids are really just about exploration of the environment and understanding the how and why of space.
Talking with your kids about the sun, moon, planets and stars is a great way not only to get them engaged with the natural world but to also introduce skills like observation, note-taking, and measuring to support numeracy and literacy.
Children love thinking and talking about space, so exploring the universe with space-themed STEM activities is a great way to get your budding scientists and astronauts engaged with learning. Check out our guide below for some great ideas.
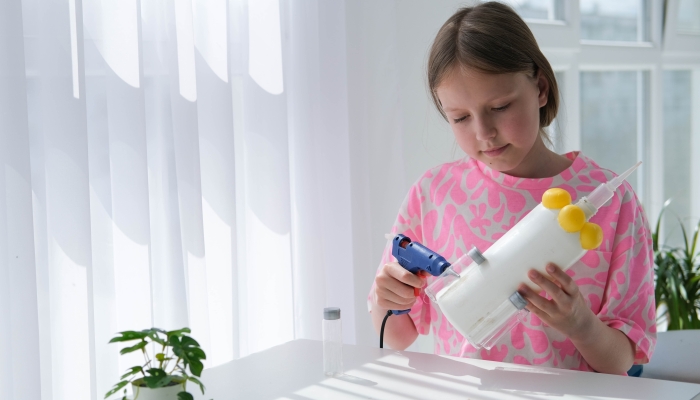
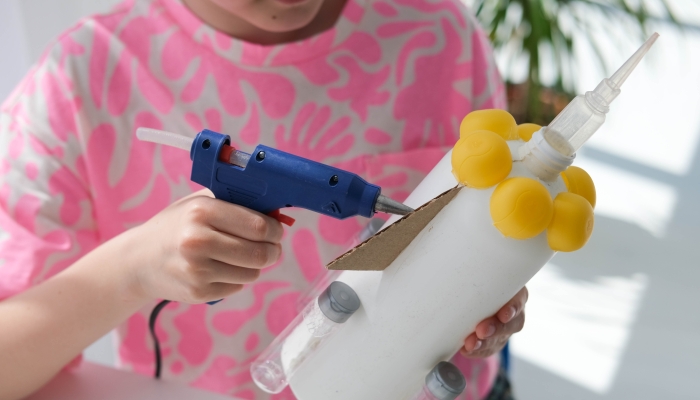
1. Build Your Own Stomp Rocket
This simple stomp rocket is a fun way to learn about physics and force and to experiment with the weight of objects to see how it affects how far they can fly. Try different kinds of rocket designs to see which rockets fly the highest.
The stomp rocket can be assembled indoors, but be sure to do your experimenting with it outside!
You Will Need:
- An empty two-liter plastic bottle
- Cardboard tube from paper towel or toilet paper
- Tape
- Glue, scissors, markers and other art supplies for decorating your rocket
- Plastic tubing
How It Works:
First, assemble your rocket using your cardboard paper towel or toilet paper roll and art supplies. Let your kids use their imaginations! Make flames on one end of the tube with tissue paper or use construction paper to make a cone for the top of the rocket.
Seal one end of the tube using paper, tape, or tissue paper.
Then, assemble the bottle and tubing. Attach your plastic tubing to the neck of the bottle. If it’s not a snug fit, use tape to secure the tubing to the bottle to make sure there is no gap for air to escape.
Now it’s time for the fun part—blast off! Lay the bottle on its side on the ground outdoors where you have plenty of space. Put the open end of your space shuttle on the end of the tubing. Then countdown and jump on the bottle. The rocket should launch up into the air.
Experiment with pointing the rocket in different directions. (Always make sure no kids or pets are in the path of the rocket!)
You can also make different-sized rockets to see how shape, weight, and size affect how far your different rockets will fly.
2. Galaxy Jar
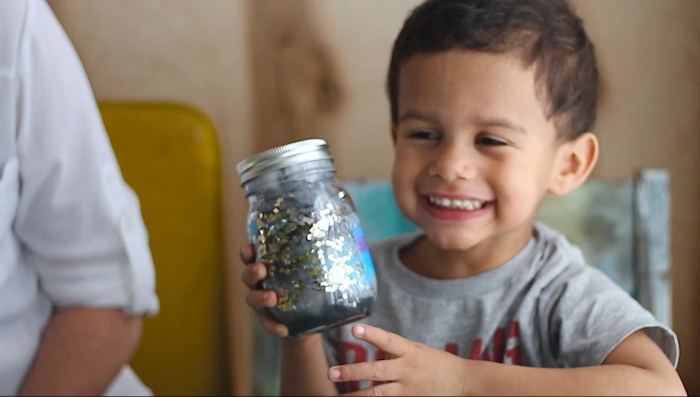
For an outer space experience that crafty kids will love, help them create their own galaxy in a jar. This is a fun and easy craft that only requires a lot of imagination and a few materials you already have at home. It’s an engaging science activity for little kids.
You Will Need:
- A clean, clear jar with a lid and the label taken off
- Cotton balls
- Glitter
- Water
- Non-toxic paints in galaxy colors, like blue, black, and purple
- Spoon
How It Works:
First, have your child pour a third of a cup of water in the jar. Add as much or as little paint as you like until you reach the desired color.
Next, add a layer of cotton balls to the jar, pressing them down with the spoon. Cover the cotton ball layer with glitter.
Continue adding layers of water, paint, cotton balls and glitter, pressing them into the jar with the spoon, until you reach the top.
When the jar is filled, put on the lid. Then have your child give it a shake! Watch the water, paint and glitter mix and create a galaxy.
To expand your child’s understanding, show them some pictures of galaxies and challenge them to recreate the colors of the atmosphere of space in their jar.
3. Pipe Cleaner Constellations
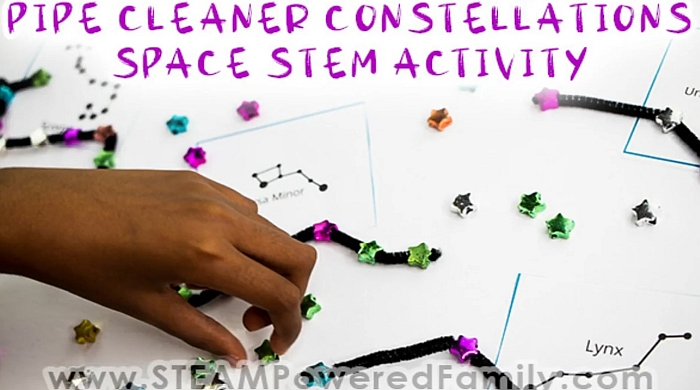
Explore the night sky with this great activity that helps support your child’s fine motor and numeracy skills while learning about the stars.
You Will Need:
- Pipe cleaners
- Star-shaped or other beads with a hole big enough to thread onto a pipe cleaner
- Printed diagrams of constellations
How It Works:
Print out some easy-to-read diagrams of the constellations. You can find free printable versions online.
Give your child a pipe cleaner. Ask them to string the same number of beads onto their pipe cleaner as they see in the picture.
Then ask them to bend the pipe cleaner and space out the beads following the diagram.
To extend your child’s learning, show them a map of the constellations in the night sky and discuss how and when they can be seen.
4. Oreo Phases of the Moon
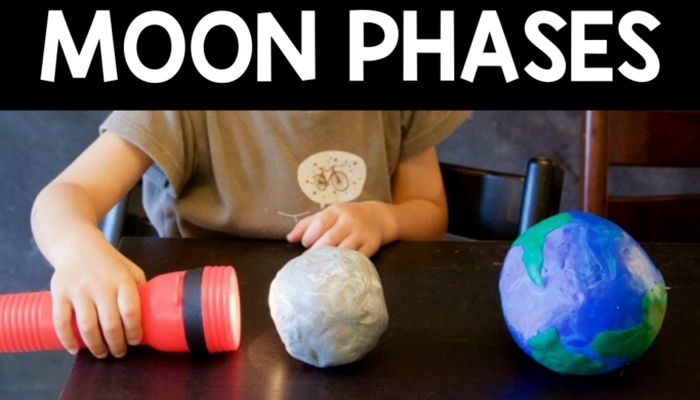
Why does the moon look bigger and smaller? Why are there some nights when you can’t see it at all? The answer to these and all your child’s moon questions can be answered with this fun—and delicious!—STEM space activity.
You Will Need:
- Oreo cookies
- Diagram of the phases of the moon, like this one, for your child to copy
- Kid-safe knife for scraping
How It Works:
Before you start, you may first want to explain how the rotation of the earth affects how much of the moon we see every night. Try this easy-to-follow guide from National Geographic Kids.
Now comes the fun part! Ask your child to carefully take apart some Oreos, being careful to leave the cream on one side of the cookie.
Once you have your “moons,” show your child the moon phase diagram. Using a kid-safe knife, have them scrape away cream from each moon to recreate the phases. Then, have fun eating the results!
5. Creative Craters
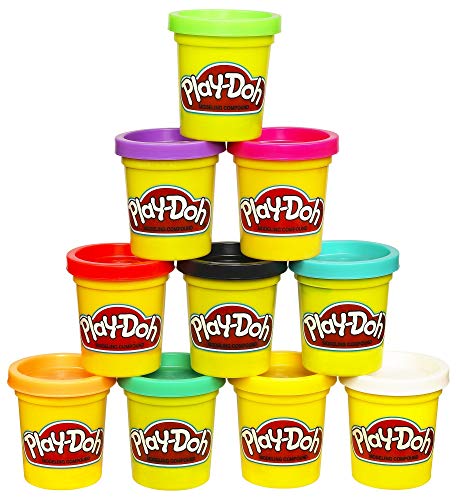
- 10 cans of creative fun – kids can get creative with just the right colors They need in this Play-Doh 10-pack of 2-ounce cans!
- Just the right colors to start – shape, squish, mix, and make it all. Great for lots of uses like Play-Doh refills, as a Play-Doh Starter set, or as an add-on to any Play-Doh toy (sold separately).
- Shape your imagination – squishy, bright, non-toxic Play-Doh compound sparks imaginations For kids 2 and up who love arts and crafts like Modeling clay.
- Easy-open, recyclable package – SHIPS in simple recyclable packaging that’s easy to open and frustration free, and the Play-Doh cans and lids are also recyclable to help build a more sustainable world!
Help your child understand the formation of craters on the surface of the moon and the Earth with this next space activity. It’s a simple science project, but so much fun, and really helpful for understanding the basic physics of what happens when meteorites hit a surface.
This is a messy space STEM activity, so if you do it indoors, be sure to have your table covered and your vacuum handy for easier clean-up.
You Will Need:
- Shallow roasting pan, rectangular baking dish, or cardboard box
- Flour
- Cocoa powder
- Sieve
- Yardstick, or long stick you can mark measurements onto
- Ruler
- Balls of different sizes, like a golf ball, marble, and ping pong ball
- Optional: modeling clay or Play-Doh to make balls of different sizes and weights
How It Works:
This experiment from Sciencebuddies.org is all about weight, height, and speed. If you don’t have balls of appropriate sizes, try making some out of your clay or Play-Doh before you begin.
First, fill your baking dish or box with flour. Sift a layer of cocoa powder over the top. Then, line up the balls you want to use.
Choose a height from which to drop the first ball. One foot to 18 inches is a good starting point. Hold up your yardstick to measure the distance you are dropping the first ball. Once you’ve dropped it, measure the size of the impact crater.
Try dropping the first ball from different heights and notice what happens when you drop it from different distances. As an optional learning extension, have your child make a chart and mark down the progress of each ball to compare afterwards.
Smooth over the top of your surface and repeat the activity, dropping balls of different sizes and weights from different distances.
Ask your child to observe what happens to the color of the crater and the space around it compared to the rest of the surface when the ball is dropped. Discuss how the size, weight and distance that the ball is dropped creates craters of different sizes.
Add an extra element of fun by filming the dropping meteorite balls in slow motion to observe their impact.
Related Posts

IEPs
5 Sample Self-Advocacy IEP Goals
Understanding the steps towards growing self-advocacy at school is an important part of building independence and self-efficacy for students.
IEPs
8 Sample Behavior IEP Goals
Find out how specific, measurable, and attainable behavior IEP goals help your child learn coping strategies and problem-solving skills, leading to more progress.

IEPs, Special Needs
Can AI Write My Student’s Next IEP?
While there are pros and cons, educators can use AI to help write a child’s IEP, streamlining the process.