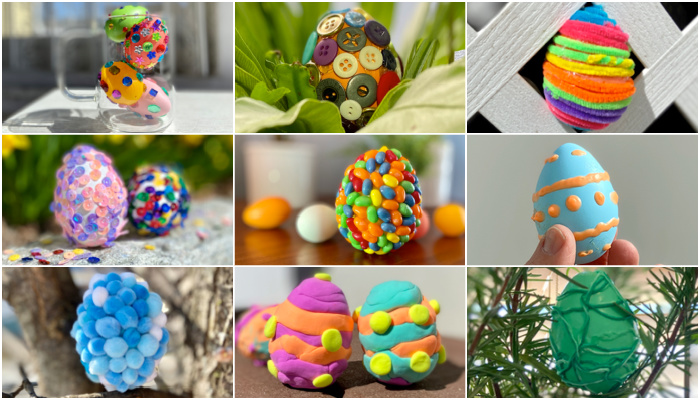
11 DIY Tactile Easter Eggs for Kids with Visual Impairments
This post may contain affiliate links; please see our terms of use for details.
Decorating and dying Easter eggs is a cherished family tradition, but if your child is blind you may be wondering how dyed eggs can be really meaningful. I mean, if an egg is white or pink, it still feels the same!
We’ve been experimenting with different ways to make tactile decorated Easter eggs for kids with visual impairments. Adding textures or other tactile elements to your dyed eggs isn’t just a great way to make them more accessible for your blind child, but they also add interest and creativity to any Easter basket!
We’ve also found that textured Easter eggs are:
- Easier to hold
- Stunning and creative
- Easier to differentiate and identify by touch

Are you ready for a fun day of tactile Easter decorating? Our ideas below outline specific materials you will need to make each egg, but there are also some basic craft supplies you should have on hand:
- Glue
- Glue gun
- Modge Podge
- Fabric or puffy paint
- Tissue paper
- Pipe cleaners
- Stickers
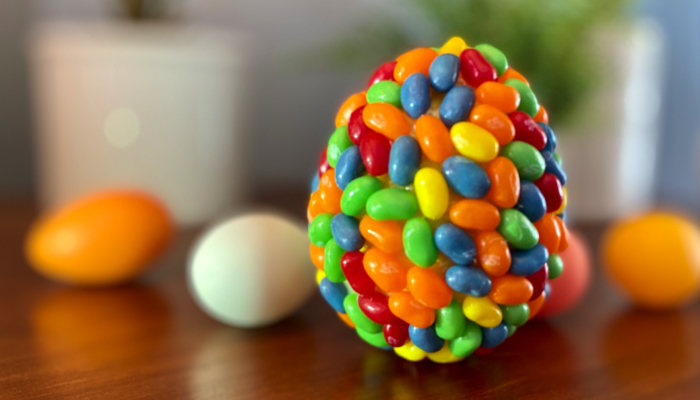
Jelly Bean Mosaic Eggs
We love adding edible materials to our crafting because Ivan has a tendency to want to put things in his mouth. If you are decorating with candy, then oral exploration is allowed! For this jelly bean egg, all you need to do is glue jelly beans to the outside of your egg. We chose a large plastic egg for this craft and it turned out very heavy and so interesting to touch! You could even attach your jelly beans in patterns like lines, dots, or flowers!
String Eggs
For this Easter craft, all you need is embroidery floss and Mod Podge. We rolled our egg in Mod Podge then wrapped it loosely with the thread. After we had the designs the way we liked them, we brushed the egg with more Mod Podge. Yes, your fingers will get tacky making this egg, but the results are so worth it! The thread hardens as it dries making for a very distinct tactile finish.
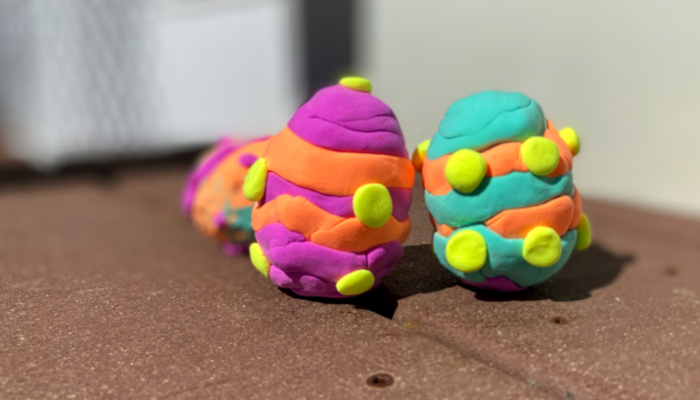
Clay Eggs
Have you heard of foam clay? It is light and airy and very soft and easy to manipulate. Unlike play-doh, it isn’t cold or sticky, two sensations that sensory sensitive kids tend to dislike. It also air dries in about 24 hours, leaving you with a lovely, soft foamy texture. It can be molded into pretty much any shape, so have fun covering your eggs with soft bumps and ridges!
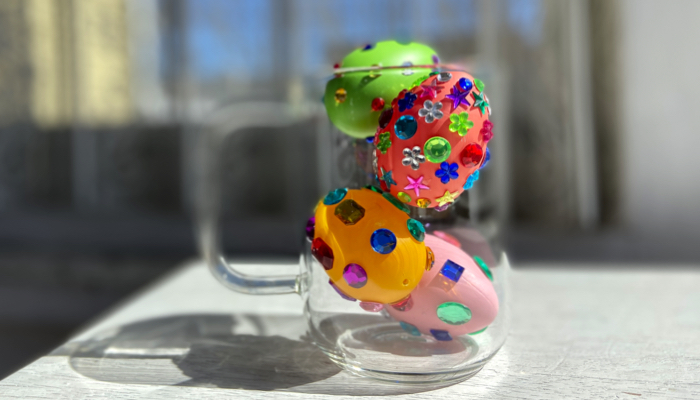
Jewel Eggs
You want your Easter eggs elegant and beautiful, but also simple to create? Jeweled eggs can do that! Just buy a pack of sparkly jewel stickers and stick them to your eggs in any pattern or style you choose. They look and feel amazing, but are super easy to make!
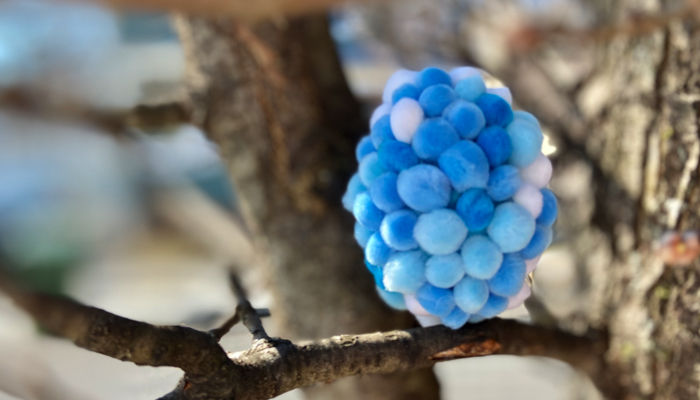
Pom Pom Eggs
This is a similar idea to the jelly bean eggs, but instead of gluing candy to the outside of your egg, you can use soft pom poms. We used pom poms in different colors and sizes and Ivan really enjoyed comparing the jelly bean egg to the pom pom egg. One was heavy and bumpy, while the other was light and soft. Having multiple different textures for your eggs is a fun way to introduce sensory concepts and vocabulary!
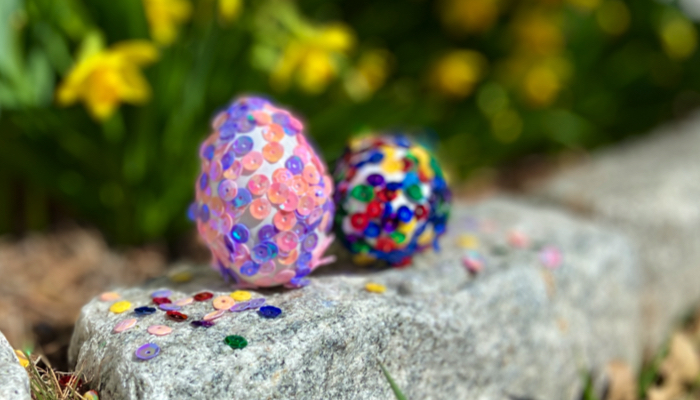
Glittery Sequined Eggs
Sequined eggs are harder to make than jewel eggs, but so so much less messy than glitter eggs! Glitter is fun and pretty, but oh how it gets everywhere! Sequins offer a similar result to glitter, but in a much more controlled material. We spread our sequins out on a plate, covered our eggs in glue, then rolled them through the sequins. After drying the eggs turned out pretty and very fun to touch!
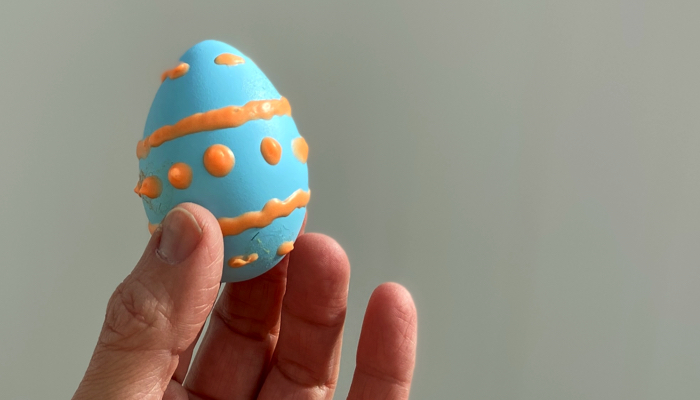
Fabric Paint Eggs
Fabric or puffy paint should be a staple in your craft supply box if you have a child with a vision impairment. These paints are a super easy way to add raised lines or other tactile elements to pretty much any material, including things like school supplies, name tags, etc. You can even use fabric paint to create braille! We’ve also found glow in the dark fabric paint for kids with light perception.
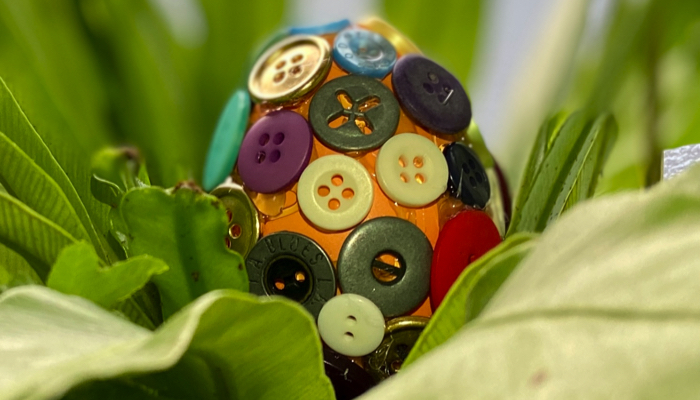
Button Eggs
The button egg was my personal favorite of all the tactile eggs we made this year. We made it very much like the jelly bean egg and had Ivan help choose the buttons as we glued them to the egg. The finished result is very heavy, but its weight is uneven due to the different sizes and styles of all the buttons, which makes it wobble in your hand. I love how it has an old fashioned almost steampunk look to it!

Piñata Eggs
To make your egg look like a piñata, all you need is a long thin piece of tissue paper with one side cut into strips. Glue the tissue paper in layers to your egg starting from the bottom and working your way up to the top. If you want to burst it open like a real piñata, be sure to fill it with candy first!

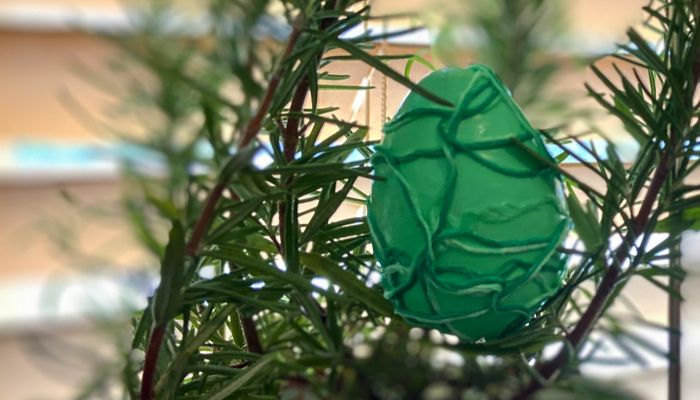
Foil Wrapped Eggs
These foil wrapped eggs were one of the easier projects and Ivan was happy to be able to help with the entire process. First we took some foil paper and let Ivan crumple the paper in his hands to create folds and creases. Then we wrapped the paper around our eggs and used double sided tape to seal the edges. The result is a shiny egg that has bumps and ripples throughout!

Pipe Cleaner Eggs
To make pipe cleaner eggs, all you need is an egg, pipe cleaners, and glue. It helps to start with a very long piece of pipe cleaner, so have your child help you pick out the colors and textures you want to use and connect the pipe cleaners end to end so you have one long length to work with. Then wrap your egg with the pipe cleaner and let it dry. We used hot glue so that it would dry faster and we also really like glitter pipe cleaners for some added texture.
Four Tips for Making Easter Decorating Fun and Stress Free
- Choose real or fake eggs. Boiled eggs are traditional, but fake plastic eggs work well too! You can purchase really beautiful fake eggs that are already dyed with spring colors or work with basic white eggs too. There are also foam eggs and wooden eggs to choose from. The best part about fake eggs is that your child can handle them roughly, or even drop them, without worry of them breaking.
- Make sounds! If you’re using plastic eggs that can be filled, consider putting things in the eggs that can change the weight or make sounds before you decorate them. Bells, dried rice, dried pasta, sand, or glass stones are all fun additions!
- Work within your child’s abilities. Some of our tactile egg projects listed above are easier than others, so pick activities that complement your child’s needs and abilities. For some kids, just touching or holding an egg or helping to pick out stickers can be a big help!
- Start small. Eggs are quite honestly an awkward shape for crafting, especially when you want to wrap or cover an entire egg with textured materials. Just start with a small part of your egg and add glue and your items then wait for it to dry before moving on to the next area. Glue guns are great for these types of projects because the glue dries quickly.

Related Posts
Holiday Crafts and Ideas
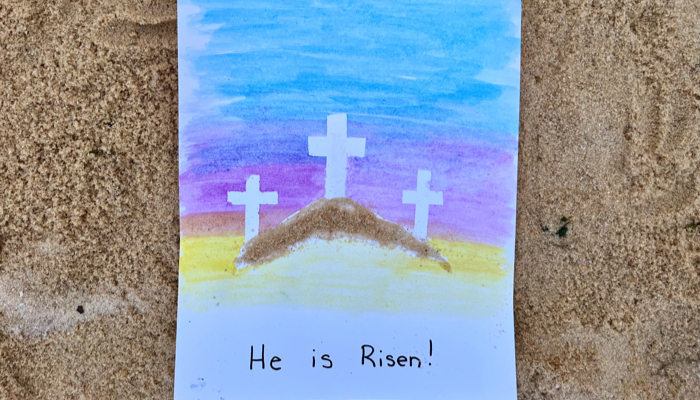
Resurrection Water Color Craft
Celebrate Easter with this Resurrection Water Color Craft, perfect for little ones. They’ll love painting the beautiful sky and adding sand to finish it off.
Holiday Crafts and Ideas
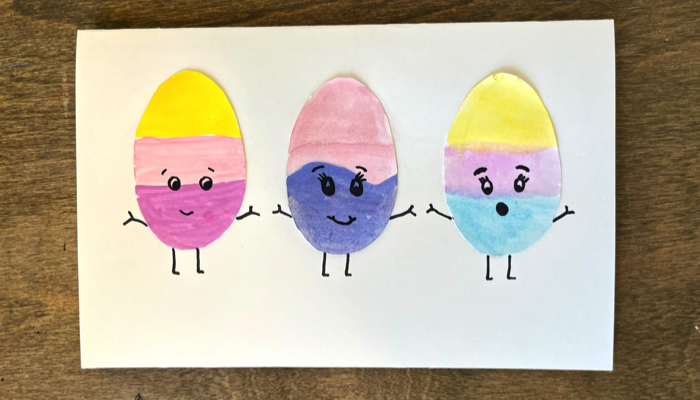
Easter Egg Greeting Card Craft
Turn your child’s painting into an adorable Easter Egg Greeting Card Craft. With just a few supplies, you can create this fun surprise to send to friends and family.
Cooking and Kitchen Play, Holiday Crafts and Ideas
Easter Resurrection Snack
This Easter Resurrection Snack will delight your little ones. With these healthy ingredients, you can teach your child the true meaning of Easter.