I love getting Ivan to help in the kitchen and he’s starting to really enjoy our baking sessions, so this year we’ve been doing a lot of simple baking activities together. I’ve seen others making Christmas tree brownies, so I thought we’d give it a try!
It’s easy to keep things simple and accessible in the kitchen, especially if you do the preparations ahead of time.
Just make sure you have all your ingredients and utensils out, your oven preheated and a spot set up for your child (especially if he’s in a wheelchair or needs special support) before you get started and things will go smoothly.
Oh, and picking a recipe with lots of sweets to taste along the way doesn’t hurt!
Here’s a fun recipe for Christmas Tree Brownies….
What You’ll Need:
Brownie mix
Bowls and cooking utensils
Frosting and candies for decorating
Candy canes
Making Your Christmas Tree Brownies
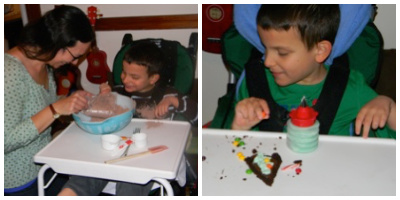
I always start by getting everything together. I made sure to get out all the ingredients and measuring cups and fill our bottles with frosting ahead of time so Ivan could easily squeeze the frosting onto the brownies when it was time to decorate. And here’s a tip for frostings: I bought one can of white vanilla frosting plus a packet of mint chocolate flavoring. I split the frosting in half and kept one half white (vanilla) and made one half green (mint). I could easily have done this with a couple drops of food coloring, but Ivan wouldn’t have been able to tell the difference between the two colors. Since the colors were also flavored differently, it was easy for him to tell which was which (and guess which one he liked best)!
Have your child help you make the brownies. Brownie mixes are super easy, so have fun with it! We let Ivan touch everything (he particularly liked the powdery dry mix) and taste everything! I always add the eggs last because I don’t want Ivan eating raw eggs. When the mix is done, pour into a rather large baking pan (like a 9×13) so the brownies are somewhat thin when cooked.
The hard part about making brownies is that you have to wait while they bake! Since Ivan was a mess, we went and took a bath and came back later for the decorating.
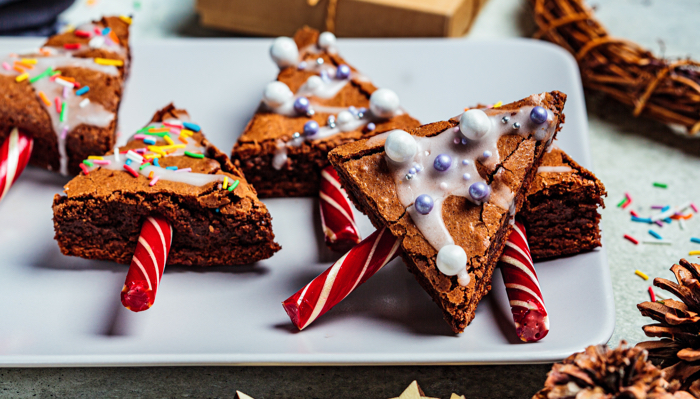
When the brownies are cooled, cut them into small triangle shapes. I was able to get 9 triangles out of a 9×13 pan of brownies. Then the fun begins with decorating! Try out different frosting flavors, candies and sprinkles! Let your child do as much as they can on their own. Ivan was able to squeeze our frosting bottles, but needed help to get the frosting on the brownies (or on his fingers, which was fun too).
Just before serving, add a candy cane to the bottom of your brownie Christmas tree for the tree trunk. I found that if the candy cane is in the brownie for too long it will start to “melt,” so you want to save this step for last if you’re hoping to present pretty Christmas tree brownies at a party. Ours didn’t last very long… they were too yummy!