Hot Air Balloon Wheelchair Costume
This post may contain affiliate links; please see our terms of use for details.
As with every Halloween for the past few years, we have to come up with an interesting and creative idea that incorporates Ivan’s wheelchair and (if we want Ivan to be happy) doesn’t require Ivan wearing much of a costume himself.
For our little trick-or-treater, hats, masks, gloves, scarves and just about any other costume accessory are just out of the question!
We also try to think of things that Ivan likes (he absolutely loves balloons) and something that looks really cool (because he also absolutely loves attention)!
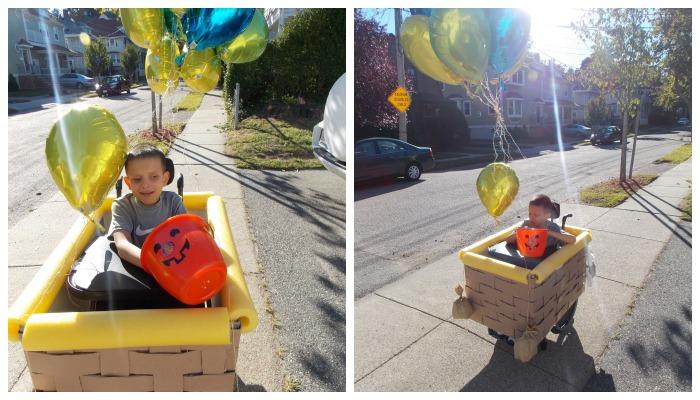
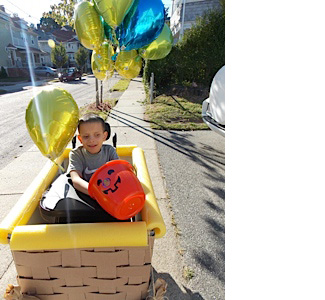
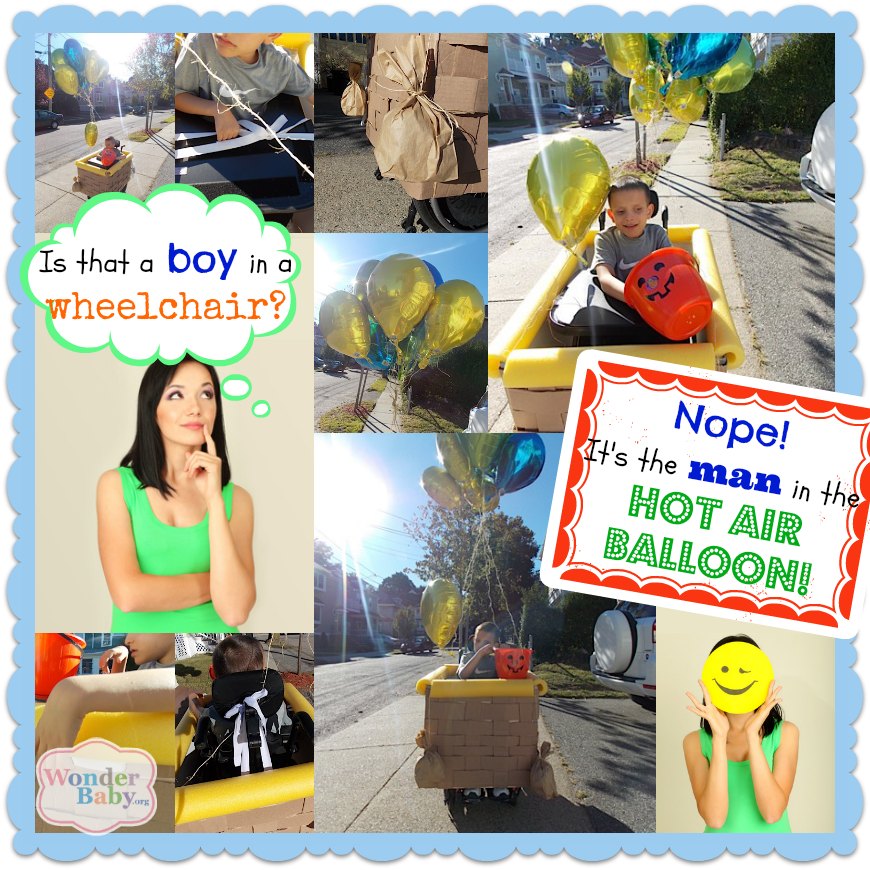
So this year we went with a new idea… Ivan is going to be the man in the hot air balloon! His wheelchair has been transformed into a basket complete with balloons and sand bags. And he can sit comfortably in his chair without any distracting masks or hats!
Here’s how we did it…
What You’ll Need:
- a large cardboard box
- four foam boards
- an Xacto knife
- duct tape & clear tape
- ribbons
- two thick pool noodles
- twine
- four small paper bags
- balloons!
Making Your Hot Air Balloon
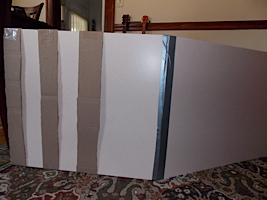 Cut the foam boards so they fit snuggly around your child’s wheelchair. We used duct tape to hold the foam boards together because we wanted this to be sturdy when it was finished.
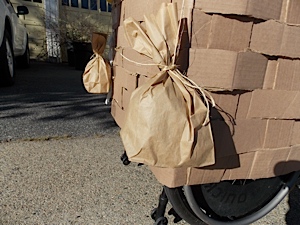
- Cut your big cardboard box into strips. I didn’t try to make my strips all the same size and I think it came out just fine. Use clear tape to attach a few strips vertically to your foam board then “weave” your other strips in and out of the vertical strips. It actually ended up looking very rustic and very much like a basket!
- Next cut your pool noodles so they are the same size as the top of your basket. Split each pool noodle down the middle and attach to the top of the basket. We didn’t use any glue or tape to set the pool noodles – they are pretty snug on their own.
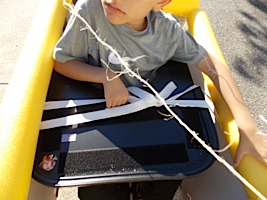 We used thick ribbons to attach the basket to Ivan’s wheelchair. One set of ribbons run from the basket over Ivan’s tray and another from the back of the basket and over Ivan’s head rest. That’s all we needed for a secure fit!
- The finishing touches are the sand bags and balloons. The sand bags are just small lunch-sized paper bags filled with old newspaper and attached to the basket with twine (I liked the rustic look of the twine). We used the twine again to attach nine balloons to the basket. You can add more if you’re feeling adventurous!
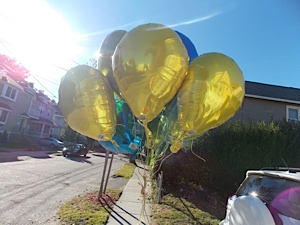
Note: We wanted Ivan to be able to wear his costume to school this year, but his school has a strict no latex policy. And balloons are usually made of latex! I found a great site that sells non-allergenic latex-free balloons for a reasonable price. These are mylar balloons, but they are the same shape as regular latex balloons so they just look like really shiny balloons. They also sell clear bubble balloons, which might look neat as part of this costume!
Related Posts

Holiday Crafts and Ideas
Should Parents Lie to Their Kids About Santa Claus?
Should parents lie about Santa? Find out how to balance trust, magic, and holiday traditions right here!
Holiday Crafts and Ideas, Special Needs
5 Tips for a Peaceful Thanksgiving with Your Child with Disabilities
Thanksgiving can be a joyful yet overwhelming holiday, especially for families with children who have sensory, motor, or dietary needs.
Holiday Crafts and Ideas
Resurrection Water Color Craft
Celebrate Easter with this Resurrection Water Color Craft, perfect for little ones. They’ll love painting the beautiful sky and adding sand to finish it off.