How To Make a Solar Oven: Step By Step

This post may contain affiliate links; please see our terms of use for details.
- A solar oven does not run on electricity but rather collects heat from the sun and magnifies that heat in order to cook food.
- Building a solar oven is a great way to teach your child about heat, insulation, and the scientific method.
- Solar ovens are fun DIY science experiments for kids of all abilities!
What Is a Solar Oven?
A solar oven is a device that uses the sun’s energy to heat food or liquid. The three main types of solar ovens are box cookers, parabolic cookers, and Fresnel reflector cookers. Box cookers are the most common type of solar oven. They are simple to construct and can reach temperatures of over 300º F.
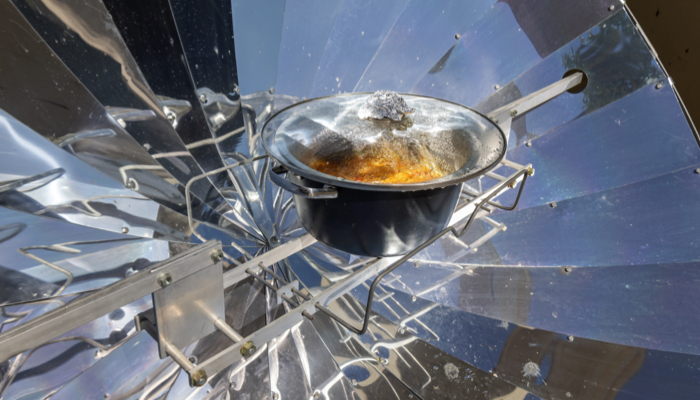
Parabolic cookers are more complex but can reach higher temperatures and cook food more quickly. Fresnel reflector cookers are the most efficient type of solar cooker, but they require a very sunny location and a large reflective surface.
Solar ovens do not require any fuel, such as gas or electricity, to operate and can be used anywhere there is sunshine, making them ideal for camping, picnicking, or emergencies.
How Does a Solar Oven Work?
The most basic type of solar oven is little more than a box with a clear lid. The box is lined with reflective foil, which helps to amplify the sun’s rays, and dark material is placed on the bottom of the box. The concept of the oven is simple: the sun’s rays reflect off the cover and into the oven, where they are absorbed by the dark surface inside.
When food is placed in the solar oven, it is exposed to these intense rays, which can quickly raise the temperature inside the oven to well above the boiling point of water. With some simple materials and a little bit of sunlight, a solar oven can be a fun summer project and science experiment.
How To Make a Solar Oven
You’ll need a few simple supplies to make your solar oven.
- A cardboard box
- Aluminum foil
- Plastic wrap
- Black construction paper
- A straw or chopstick
- Tape
- Scissors
- A food thermometer
1. Prepare Your Box
Tape the sides of your box closed and make sure it is sealed fairly well. You don’t want heat escaping from holes in the side of your oven! Cut an opening into the top of your box and lift the flap you’ve created without cutting it off entirely. You’ll need this flap to reflect sunlight into your oven.
2. Line Your Oven
Line the inside of the box as well as the flap with aluminum foil. The foil will reflect the sun’s rays into your oven. Place a square of black construction paper on the bottom of your oven. This will be where you set your food when it is time to cook. The black paper will absorb the heat in the box and direct it to your food!
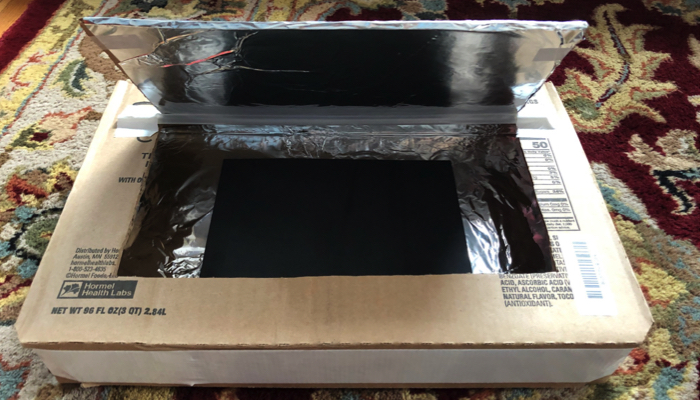
3. Prop Open the Flap
You want the flap on the top of your box to stay open so sunshine will reflect into the oven. We taped a long chopstick under the flap to keep it open. Your finished oven should look like this:
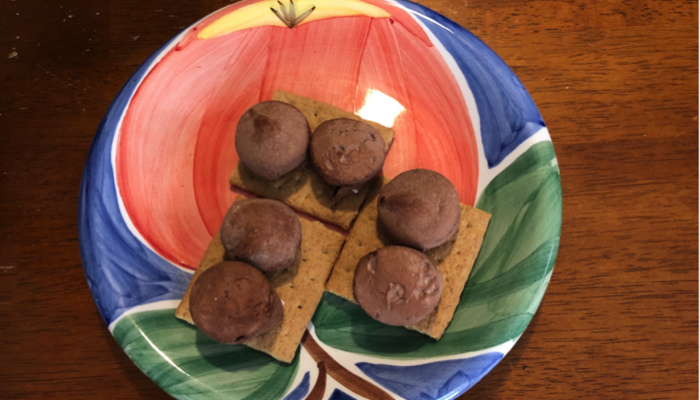
4. Get Ready to Cook!
Now it’s time to place food in your oven. We decided to make something very simple: s’mores! We layered graham crackers and marshmallows (we used chocolate stuffed marshmallows) and then placed them in the oven.
Once your food is in the oven, use tape to seal the opening with plastic wrap. Now your oven is totally sealed and ready to get cooking! Place your oven in direct sunlight and poke a food thermometer into the box so you can record the temperature inside the box.
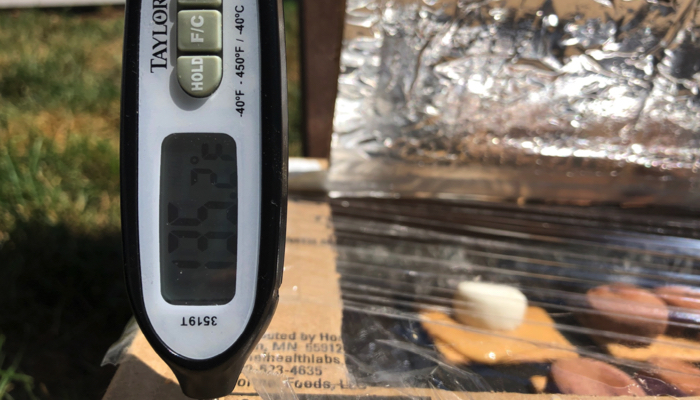
5. Record Your Results
Watch your oven and thermometer and record how hot it gets. You can also keep a timer and record how long it takes to get to its highest temperature. Our oven did not get hotter than 135º F, even though solar ovens are supposed to get as hot as 300º F. If your oven also falls short, brainstorm why that might be and think about how you could redesign your oven.
Accessibility Tips
This solar oven activity can be as simple or as complicated as you want it to be, making it a great science experiment for children of all abilities. You could record the temperature in your oven every five minutes then graph the results over time, or you could simply consider the experiment a success if the marshmallows melt!
Other ways to make this activity accessible for children with disabilities:
- Use a talking thermometer so kids who are blind can read the temperature independently
- Use snap cubes to create a tactile representation of the data you’ve collected
- Take photos and create a social story about your experiment so your child can process the experience
- Use communication switches to let your child choose which foods to place in your oven
- Make simple changes to your experiment (placing the oven in the sun versus placing it in the shade, for example) and talk to your child about the results
Related Posts

Math and Science
From 2D to 3D: Teaching Geometry to Blind Students Through Origami
Discover how origami can help blind and low-vision students explore 2D and 3D shapes through touch, building spatial reasoning and creativity with this fun, accessible teaching tool.
Math and Science
4 Weather Activities for Preschoolers
Whether the weather is sunny, cloudy, windy or rainy check out these educational weather activities for preschool that your children will love!

Holiday Crafts and Ideas, Math and Science
Easter Egg Number Matching Game
Counting has never been more fun than with this Easter Egg Number Matching Game. This game is easy to assemble and will surely be a hit with your little one!