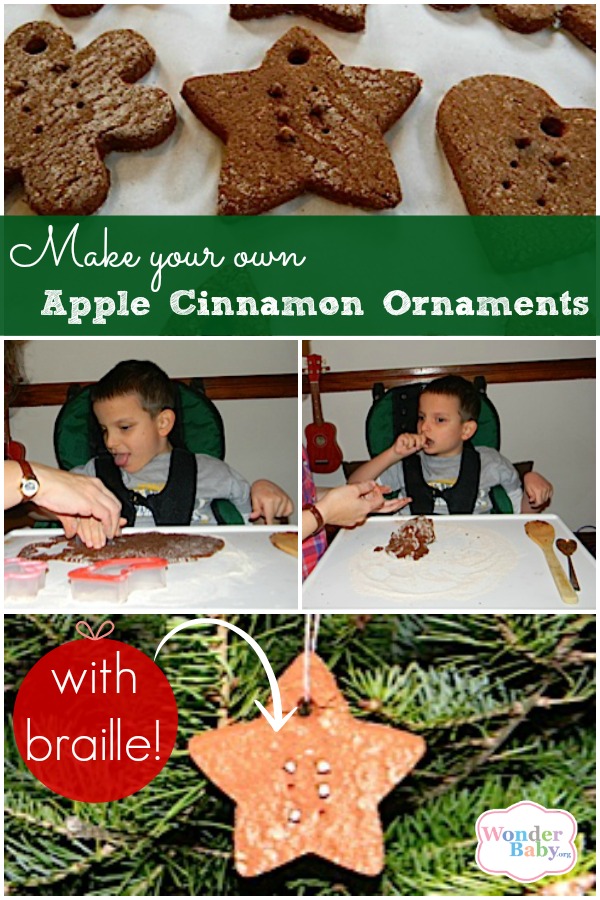
I’ve been wanting to try my hand at apple cinnamon ornaments for a while now, so when I was looking for a fun and easy craft that Ivan and I could do together and give away as gifts to his classmates, I thought of this project. Fun, easy, crafty and a great gift all in one!
Since we’d like to give these to Ivan’s friends as holiday presents, I thought it might be nice to add a personal touch to each ornament, but how?
They’re not quite big enough to add names to, but what about braille? After trying a few different options, we decided to use cloves to create a braille letter for each child’s name… and a few for Ivan’s teacher and teacher’s assistants, too!
Here’s how to make Apple Cinnamon Ornaments with Braille….
What You’ll Need:
1 cup applesauce
1 cup cinnamon
cookie cutters
drinking straw
toothpick
whole cloves
baker’s twine
Making Your Apple Cinnamon Ornaments
Mix 1 cup applesauce and 1 cup cinnamon in a bowl. For those who are interested, this is also exactly two 4oz applesauce snack packs and a 4.12oz container of cinnamon. You may need to add a bit more cinnamon, depending on the consistency of the applesauce brand you use. If you run out of cinnamon, a little whole wheat flour works well, too.
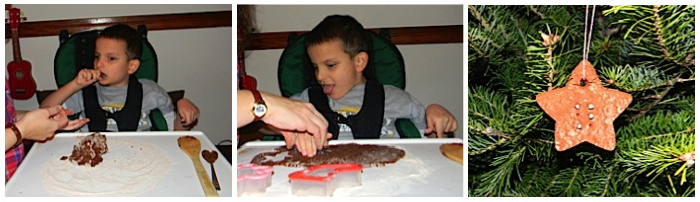
Combine the applesauce and cinnamon until the consistency of cookie dough; not too wet, but not crumbly either. You will have to get your hands in there to really get it all mixed up. This is where your child can really help out! And, by the way, the dough is safe to eat, but doesn’t taste all that great. When the ornaments are done I suppose they’d be safe to eat too, but they’ll be too hard to be edible.
Sprinkle some cinnamon or whole wheat flour on your working surface and lay your dough out for rolling. This dough actually rolls fairly easily, but I still wrapped our rolling pin in parchment paper just to reduce stickiness.
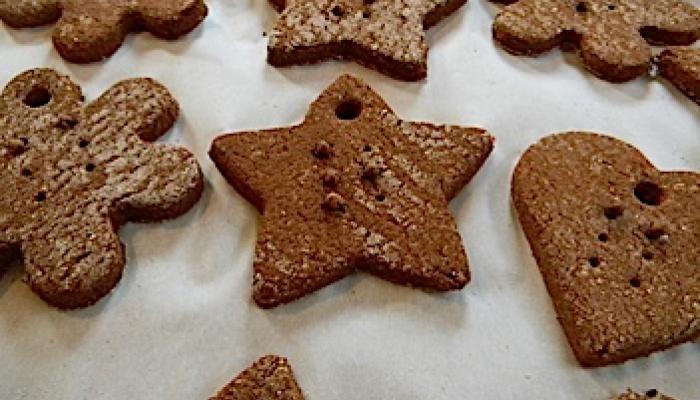
Use cookie cutters to make your ornaments and lay them on a parchment lined cookie sheet. Ivan enjoyed helping to push the cookie cutter into the dough!
Once all your ornaments are on the cookie sheet, use a straw to make holes in the top of each ornament. I then used a toothpick to make little 6-dot braille cells on each ornament so that I would know where to put the cloves when creating the braille letters. You can skip this step if you like, but I need the guidance of those braille cells to know where to place the cloves!
Make your letters using cloves. You may have to trim the ends off your cloves to make them fit. If you need help with your braille, here is a cheat sheet of braille letters and numbers.
You can just leave your ornaments out to dry for 24 to 48 hours, but I also tried baking them at 200° for 1 hour and the ornaments seemed to be a bit stronger after baking. Plus you can finish them up faster!
Let your ornaments cool, then string them with baker’s twine. The cloves work well for the braille because they smell nice, they are very tactile and they handle the baking without melting… but they aren’t very high contrast. If you want to create a better visual presentation of the braille, particularly for kids with low vision, you can paint little white tops on the cloves after they’ve cooled.
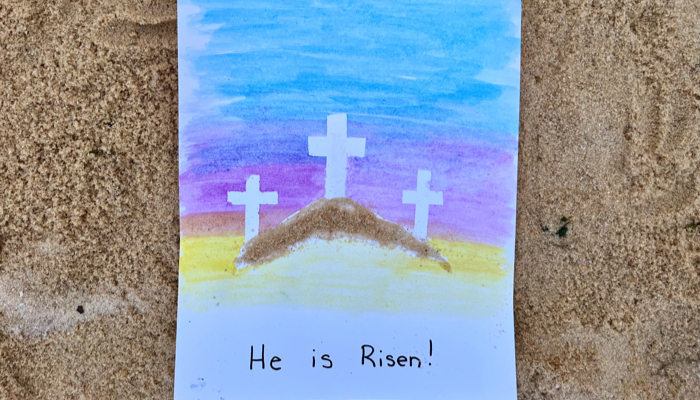
Celebrate Easter with this Resurrection Water Color Craft, perfect for little ones. They’ll love painting the beautiful sky and adding sand to finish it off.