Make Your Own Sponge Ball!

This post may contain affiliate links; please see our terms of use for details.
Here’s an activity that’s so simple you’ll wonder why you haven’t thought about it before (or maybe you have and I’m late to the party)!
Just take a sponge, cut it up and tie the pieces together to make a sponge ball… and now you have a fun toy to play with in the bath or pool or even on land!
What You’ll Need
- two sponges
- scissors
- dental floss
Project Prep
 Choose two sponges with high contrasting colors for children with low vision. If your child is drawn to specific colors (like red or yellow) try to find sponges in those colors.
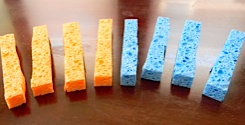
Cut the sponges into four strips each. arrange the sponges in alternating colors and tie up (real tight!) in the middle with dental floss. You’re done! Now you have your very own sponge ball.
Playing with Your Sponge Ball
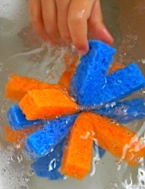
The thing that Ivan found the most interesting about the sponge ball was that it was so much lighter when it was dry. We’ve played with other toys that soak up water (like Splash Bombs), but there’s something really absorbant about two sponges tied together (go figure). The sponge ball feels very different when it’s wet and when it’s dry and this has the potential to be super exciting!
 And since we could talk about how the ball changed when it was wet and dry this led us very nicely into a squeezing game. How do you get the water out of the sponge so that it’s dry again? You have to squeeze it! Squeezing can be difficult for a lot of kids and is also a great way to improve hand strength. The sponge ball is easy to grab and hold on to (since it has so many “arms”) and because Ivan wanted to see what it was like when it was dry, he would try to squeeze as much water out as he could. He did need help with this, but it’s a really nice start and a great fine motor activity!
He had so much fun with this sponge ball in the bath that we’re trying to come up with other sponge activities. How about sewing the ends of one sponge strip together to make a sponge bracelet? Or sewing a bunch of strips together to make a sponge necklace? We could cut sponges into strips and instead of tying them together leave them loose and play with sponge blocks in the bathtub. Or maybe we could make sponge balls out of HUGE sponges… I think that one would be a hit!
If you have any sponge ideas please let me know or leave a comment below!
Related Posts
Sensory Activities
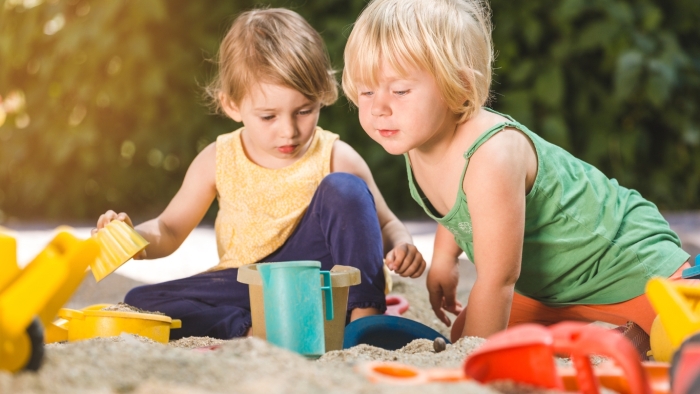
5 Sand Play Activities to Encourage Fine Motor Development
Sensory bin, at the beach, or in a sandpit? Try these sand play activities to help toddlers and preschoolers develop their fine motor skills.
Sensory Activities
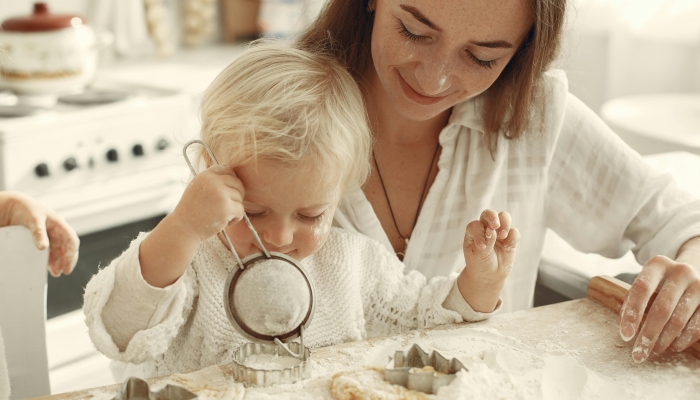
5 Edible Sensory Play Ideas
Check out our favorite edible sensory play activities to engage children's senses, boost their development, and provide hours of fun.

Sensory Activities
How to Make Unpoppable Bubbles
Discover the secret to making unpoppable bubbles with this easy guide. You only need three ingredients!