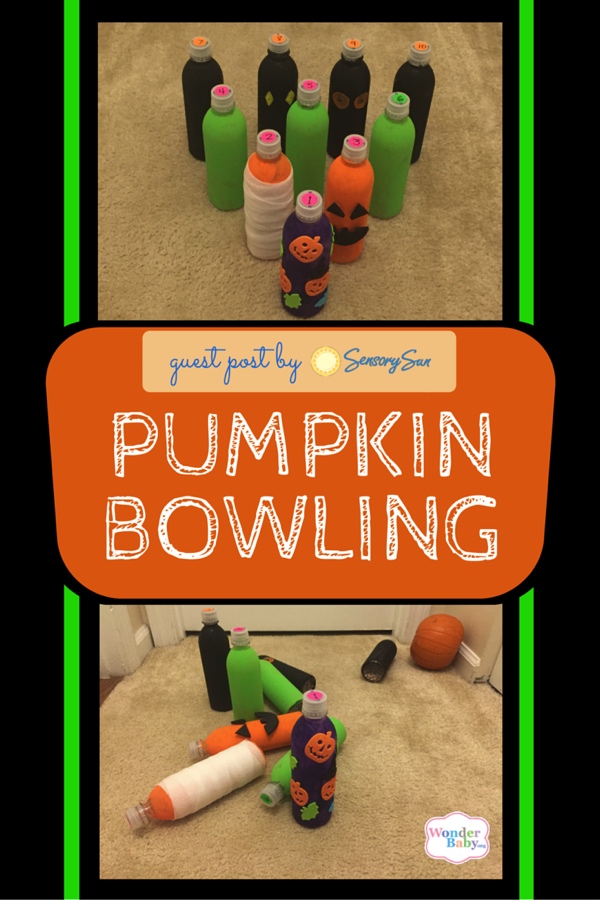
Play a Game of Pumpkin Bowling with a Braille Twist
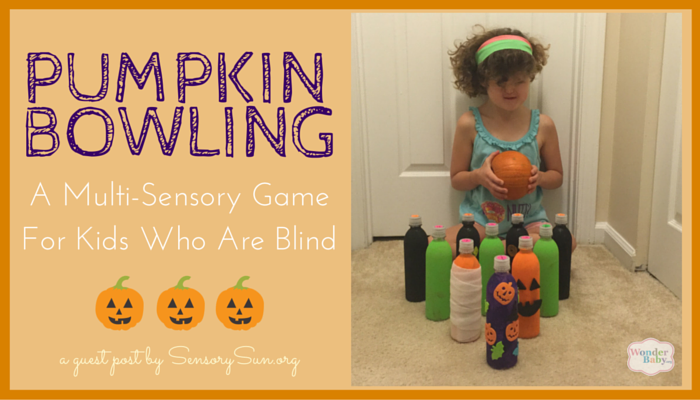
Maybe you’ve been bowling, but have you ever been pumpkin bowling? This multi-sensory game is perfect for Fall and makes a fun Halloween party game, too! Teachers and parents can also use it to practice math skills including numbers, counting, addition, and more.
Creating the Game
It’s really up to you how creative or complex you want to get in decorating the bowling pins! To get started for a basic pin, you only need a few materials. However you can dress up the pins any way you want! Try paint, tactile stickers, cutout foam and felt pieces, construction paper and more.
Materials You’ll Need:
- 10 empty water bottles with caps, completely dry
- 1 bag of dried beans
- print and braille number stickers 1-10
- decorations for the bottles
- a small round pumpkin
- Pumpkin Bowling Score Sheet
Building and Playing the Game
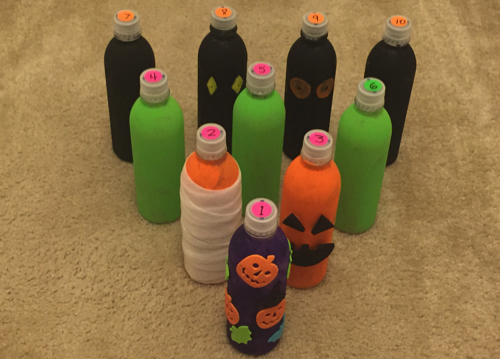
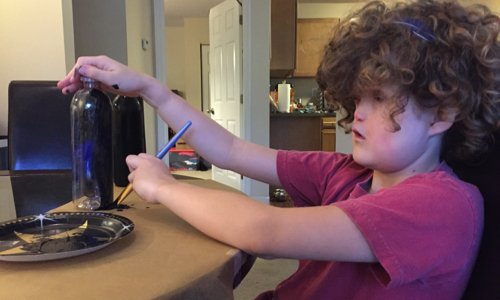
First, decorate the ten empty water bottles to be the bowling pins. Be sure to allow plenty of time for them to dry in a safe place if you decide to use paint. Next, fill the bottom portion of each bottle with dried beans. Use enough so that the bottle will make lots of noise when it falls over. The more beans you use per bottle, the heavier it will be and the harder to knock over. We used the entire bag of beans, placing about 1/10 of the beans in each bottle. Replace the caps tightly on each bottle. Glue on the caps if the beans could possibly be a choking hazard for your kids or students. Place number stickers on the tops of each cap to help with scoring. It’s also a great way to incorporate the game into a fun math lesson!
After you have your bowling pins ready, it’s time to cut the stem off of the pumpkin so that it will roll easier- and straighter! Sometimes it will just pop right off, but for some pumpkins you may have to cut it. If you want, drill 3 holes in the side of the pumpkin for the bowler to place his fingers. If you hope to use your pumpkin for more than one game of bowling, you may want to skip this part since it will begin to rot if you drill into it.

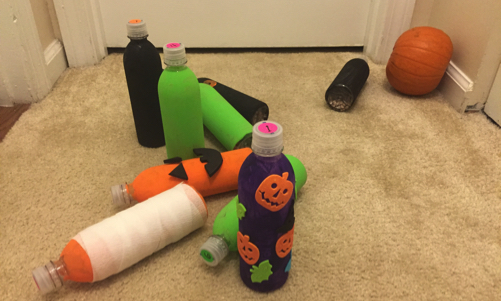
Finally, find a place to play the game of pumpkin bowling. A hallway with closed doors makes a great bowling lane although you may want to put down some wax paper or even a washable blanket just in case your pumpkin cracks. You could also play outdoors on a level, grassy surface. Make sure the surface isn’t too hard or your pumpkin will probably bust easily upon impact depending on how the bowler rolls (or throws) it down the lane! Set up the pins with a row of four in the back, then a row of 3, then 2, then 1 pin in the front to form a triangle. Depending on the strength of the bowler, stand back five feet or more to roll the pumpkin ball. Try to knock over as many pins as you can! If your child needs a modification for getting the pumpkin down the lane, try this DIY bowling ramp made from PVC pipe!
Keeping Score
There are a variety of ways you can keep score for leveled games of pumpkin bowling. One way is to keep score just as you would a regular game of bowling. This way is a little more complicated than just counting up how many pins you knock over, but it may make it more interesting for older kids and even adults! You can find an easy calculator for keeping bowling scores on BowlingGenius.com. The simpler version of this is to just keep count of how many pins you knock over for every two turns. For instance, if two players are competing, one player rolls twice and tallies the number of pins they knocked over. The other player does the same, and play continues for ten rounds. Whoever has the most points at the end of the game wins!
Another variation is by keeping score by counting up the numbers on top of the pins you knocked over during your two rolls. Be sure to set up the pins so that the #1 is in the front and the numbers increase as you go from left to right across each row, and back. The #10 pin will be in the back right corner. Whichever player has the most points at the end of 10 rounds wins the game! If you’d rather not keep score, just try to knock over all of the pins!
Madilyn really had a lot of fun playing a game of pumpkin bowling at our house. She didn’t want to stop but eventually it was time for bed. She is so excited to play again tomorrow night! Here’s a video clip of Madilyn playing a round of pumpkin bowling.
Related Posts

Holiday Crafts and Ideas
Sensory Pumpkin Decorating for Kids Who Are Blind
Create a sensory pumpkin with yarn, buttons, and fabric! A fun, non-carving fall craft for blind kids that builds tactile and fine motor skills.

Holiday Crafts and Ideas
5 Accessible Thanksgiving Crafts for Kids Who Are Blind or Visually Impaired
Celebrate Thanksgiving with five accessible, sensory-rich crafts for kids who are blind or visually impaired.

Holiday Crafts and Ideas
Should Parents Lie to Their Kids About Santa Claus?
Should parents lie about Santa? Find out how to balance trust, magic, and holiday traditions right here!