This post may contain affiliate links; please see our terms of use for details.
Can a blind preschooler be included in preschool arts and crafts? Of course!
Preschool art projects usually involve simple fine motor skills (drawing or glueing), beginning planning skills (figuring our what to draw or where to glue) and constructive play (building something). Do these sound like skills any child should be learning, blind or sighted? Yes!
You will want to plan ahead to make sure the project is accessible. Also, if your child has issues with different textures, you should probably work on addressing that problem now. You can find some tips here.
But if your kiddo doesn’t have problems with touching different types of textures, then you’re already way ahead of the game. And messy play can be really great developmental play too! Keep reading for some tips on making preschool art time accessible for kids who are blind or visually impaired.
Some Tips for Drawing
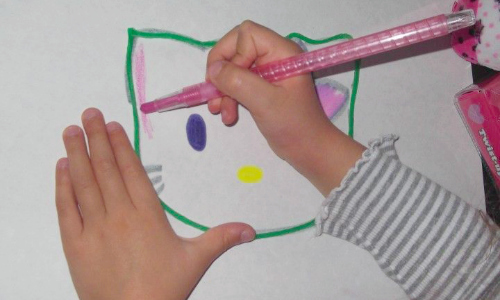
You can purchase raised line coloring books, like this one.
Or you can take a regular coloring book and just outline the lines with puffy paint or Wikki Stix.
You can also purchase a raised line drawing board, so that anything your child draws can be felt on the paper after he draws it.
Or you can always make a drawing board yourself by just placing the paper on top of a screen so that when you draw on it the lines are bumpy and you can feel them.
It can also be fun to draw with scented markers, so your child can smell what he’s drawn.
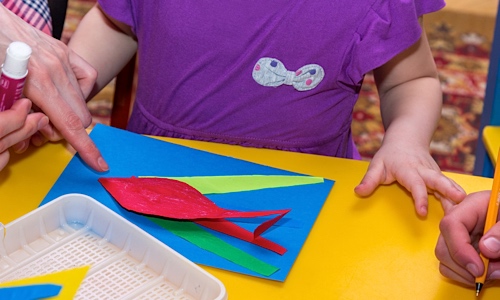
Some Tips for Glueing
Start by getting your child used to the idea of sticking objects to paper. You can try this sticky collage project with packing tape. The entire surface is sticky, so no matter where your place an object, it’ll stick.
Then work up to using glue. I think glue sticks are great because you can make a large area on the paper sticky and then your child can find the glue with one hand while placing objects on the paper with the other.
You can also dab a little glue on the object for him (like, say, a dried flower) and then have him place it on the paper. Eventually, as he begins to understand the concept, you can work up to him applying the glue himself, but he will need help to start with (as would any child).
And yes, glue will be messy and sticky, but we just have to be OK with that! My son made a scented collage in school the other day (they started with a paper plate, brushed glue over the whole surface, then had Ivan place different scented dried herbs on the plate). He came home with glue in his hair… but that’s OK!
I remember when I was a child that the teacher would keep a sponge in a small bowl with water that we could use to wipe our fingers on in between applying the glue. Maybe if you have a little “wash station” set up that could help with the mess too.
And one more idea: You could also create a glue “template” by cutting out a small circle area in a larger piece of cardboard. Your child can place the template on the paper where he wants to place the glue and just put the glue in the circle space. Now he knows exactly where the glue is!
I hope some of these tips will help you create a fun and accessible arts and crafts project with your kids. And if you have any other advice, please let us know in the comments!
Learn about Lumen smart glasses, an innovative assistive technology designed to help blind and visually impaired users navigate safely and independently.
Braille and Literacy, Music Play, Special Needs, Visual Impairment
Discover how blind children explore art through touch. Learn practical ways to support tactile creativity, build early Braille literacy, and nurture imagination with hands-on projects, textures, and accessible art experiences.