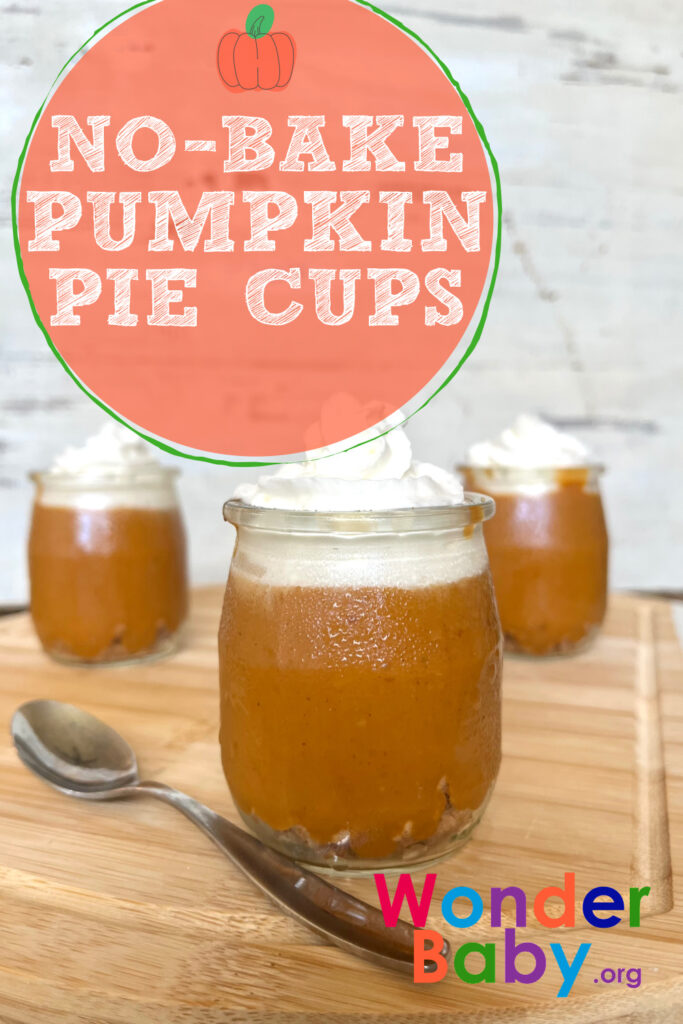
No-Bake Pumpkin Pie Cups
This post may contain affiliate links; please see our terms of use for details.
When fall arrives, there are two types of people in the world—those who believe pumpkin spice is a food group of its own, and those who don’t. If pumpkin spice has you jumping for joy this time of year, you’re in the right place.
Just this past week, my kids and I dove into all things pumpkin in our school activities. After spending a week playing pumpkin games like the Pumpkin Picking Fine Motor Activity, the kids decided we should celebrate the start of a great school year with pumpkin pie.
However, I wasn’t feeling up to the task of baking an entire pie from scratch. So we compromised with a solution that ended up being a new household favorite. These No-Bake Pumpkin Pie Cups are a delicious treat that whip up in little time.
So put away your flour and apron, and grab a can of whipped cream and graham crackers instead. The whole family can help make these No-Bake Pumpkin Pie Cups!
No-Bake Pumpkin Pie Cups: What Tools You’ll Need
The best part about this recipe is that no special equipment is needed. Just a few basics will get you going.
Whisk and Saucepan
To make the pie filling, you’ll need a whisk and saucepan to heat it up. A small saucepan will work just fine.
Ziploc Bags and Wooden Spoon
You’ll need a ziploc bag to contain the graham crackers as you crush them. We found that a wooden spoon works great to crush them into small pieces.
Small Glasses
I had some glass yogurt containers I had saved that were the perfect size for this treat. You could also purchase a set like these glass dessert bowls.
No products found.
What Ingredients Do You Need?
We chose to use ingredients that were lower in sugar than the alternatives. Feel free to substitute sugar for the maple syrup or regular graham crackers for the healthier version. The recipe will taste great either way.
- Almond Milk: We used almond milk in this recipe since that’s what we drink most often. You can substitute oat milk, soy milk, or cow’s milk if you prefer.
- Canned Pumpkin: We chose plain canned pumpkin so we could add our own spices and a natural sweetener. If you don’t mind the added sugar, feel free to purchase a canned pumpkin pie mix instead. (Note: If using canned pumpkin pie filling, you wouldn’t need to add the maple syrup or pumpkin spice.)
- Maple Syrup: Maple syrup is a great alternative to sugar in recipes. It also adds a rich flavor.
- Vanilla: Be sure to use pure vanilla extract instead of imitation vanilla extract. It makes a difference in the taste as well as the nutritional value of the food.
- Pumpkin Pie Spice: Any pumpkin pie spice will work.
- Cornstarch: We like using non-gmo cornstarch.
- Graham Crackers: The graham crackers we like most are the Simple Mills Honey Cinnamon Sweet Thins. They are gluten-free and sweetened with coconut sugar and honey. My kids love them!
- Whipped Cream: Any store-bought whipped cream will work.
How to Make No-Bake Pumpkin Pie Cups
There are plenty of steps your kids can help you with. Consider making this a fun kitchen activity for the whole family.
Step 1: Mix
In a small saucepan, mix together the can of pumpkin, milk, pumpkin pie spice, vanilla, and maple syrup. Mix until all ingredients are combined.
For an easier option, add all ingredients to a blender. This will give you a smooth, even mixture in only a few seconds. You’ll just have to wash the blender after, which is why I opted to mix by hand.
Step 2: Heat
Once all ingredients are combined, begin to heat the pumpkin filling on medium-high heat. Whisk frequently as it heats up.
Step 3: Prepare Cornstarch
While the filling is heating up, mix together your cornstarch and water. This will prep the cornstarch so it can be added to the hot pie filling. Don’t skip this step or your cornstarch will clump together when it’s added.
Step 4: Add Cornstarch and Boil
When the filling begins to bubble, slowly pour in the cornstarch. Continue whisking and allow the filling to come to a boil. Let it boil for 3 minutes as you whisk.
If the mixture needs more time to thicken, continue for a few more minutes.
Step 5: Allow to Cool
When the filling has thickened, remove it from the stove and allow it to cool.
Pause to Play: Little ones will likely get impatient waiting for the filling to cool. This is a great time to pause for a play break and teach some important mathematical concepts. One of the best ways to teach your child is by pulling them next to you while doing something together like cooking.
Take a minute to talk about the fractions on measuring cups with an older child. Younger children can use measuring cups to identify big, bigger, biggest, or small, smaller, smallest.
Step 6: Crush Graham Crackers
This was my kids’ favorite step. Fill a small Ziploc bag with the graham crackers and smash them with a wooden spoon. If the bag isn’t very thick, you might want to place it inside another Ziploc in case it opens while smashing. You can also have your kids roll a rolling pin over the bag to crush the crackers.
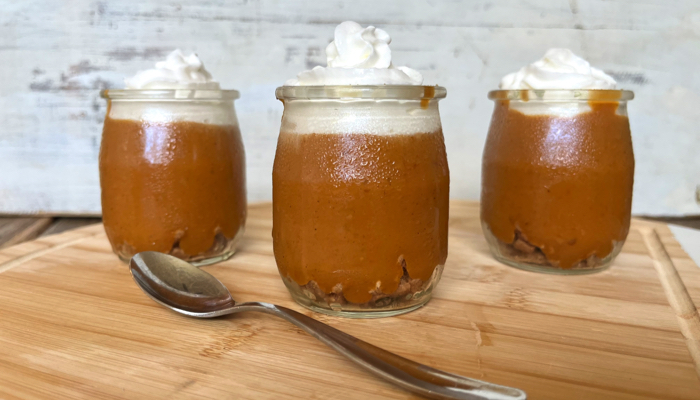
Step 6: Layer and Refrigerate
In small glasses, add a layer of crushed graham cracker to the bottom. Top with the pumpkin pie filling. Allow to cool in the fridge for at least 2 hours.
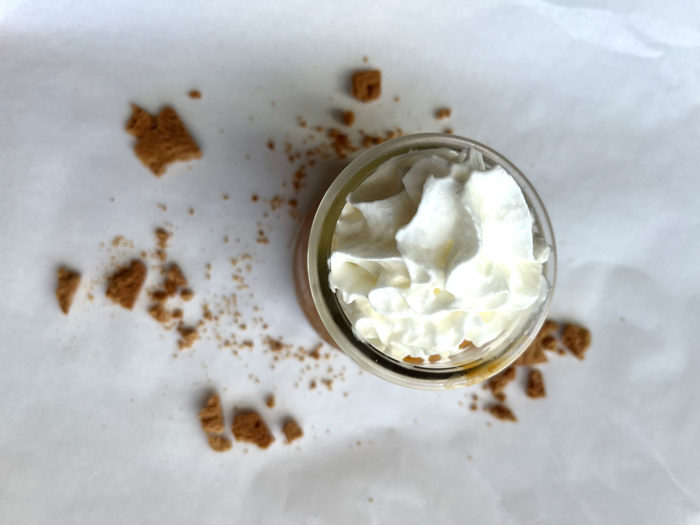
Step 6: Top with Whipped Cream
The final step makes all the waiting worth it. Grab the bottle of whipped cream and add a generous spray of whipped cream before devouring this dessert. (Your kids might also request a spray in their mouths.)
What can I use instead of graham crackers?
Instead of graham crackers, you can use crumbled golden Oreos, toasted pecan pieces, or broken bits of a waffle cone. Finding other ways to make this dessert is a fun activity for creative kids.
What ingredients can I add to the pumpkin cups for variation?
Parents can add a variety of ingredients to these pumpkin cups to change things up. In fact, we tried them with nuts and loved them. Adding nuts also makes these great protein snacks for kids.
To change up the recipe, try adding these topping variations:
- Pecans or walnuts
- White chocolate chips
- Toasted coconut shreds
- Cinnamon granola
Are the ingredients beneficial for my child’s development?
A whipped-cream-topped dessert like this might not seem healthy at all. Yet, while not all the ingredients are healthy, parents will be pleased to know that the pumpkin is actually full of nutrition.
Pumpkin is full of fiber and a great source of Vitamins A and C. These are essential nutrients that your child’s growing body needs.
Don’t count out the maple syrup, either. You may not know that it’s a great source of manganese and riboflavin.
What can I do with my child while we wait for the pie filling to set in the fridge?

- Steven Kroll (Author)
- English (Publication Language)
- 32 Pages – 09/01/1993 (Publication Date) – Cartwheel Books (Publisher)
With a pumpkin-themed dessert like this, my mind can’t help but think of other fall activities your kids will love! Here are a few ideas to keep your kids busy while they wait for these no-bake pumpkin pie cups:
- Make your own simple Jack-O-Lantern
- Read the book The Biggest Pumpkin Ever by Steven Kroll
- Setup a game of pumpkin bowling
- Sing the Five Little Pumpkins fingerplay song (Fingerplay songs make excellent language activities for preschoolers.)
No-Bake Pumpkin Pie Cups
- Prep Time: 30 minutes
- Refrigerator Time: 2 hours
- Servings: 8 small glasses (4oz per serving)
Ingredients:
- 1 can pumpkin
- 2 cups almond milk
- ½ cup maple syrup
- 1 tsp vanilla
- 1 TB pumpkin pie spice
- 2 TB Cornstarch
- 4 TB Water
- 1 cup crushed graham crackers
- Whipped cream
Special Equipment:
- Saucepan
- Whisk
- Ziploc bag
- Wooden spoon
- Small dessert glasses
Instructions:
- In a small saucepan, whisk together pumpkin, milk, pumpkin pie spice, vanilla, and maple syrup.
- Heat on medium to high heat..
- In a small bowl, combine the cornstarch and water and whisk frequently.
- Slowly pour the cornstarch mixture into the saucepan while whisking.
- Bring mixture to a boil for 3 minutes.
- Remove from heat and allow to cool.
- Place graham crackers in a ziploc bag and crush with a wooden spoon or let your child run a rolling pin over the bag. Line the bottom of your dessert glasses with the graham cracker crumbs.
- When the pumpkin has cooled to room temperature, add a generous scoop on top of the graham crackers in each glass.
- Transfer the glasses to the refrigerator to cool.
- Allow to cool for 2 hours.
- Remove from the refrigerator and top with whipped cream.
Related Posts
Cooking and Kitchen Play, Tactile Arts and Crafts
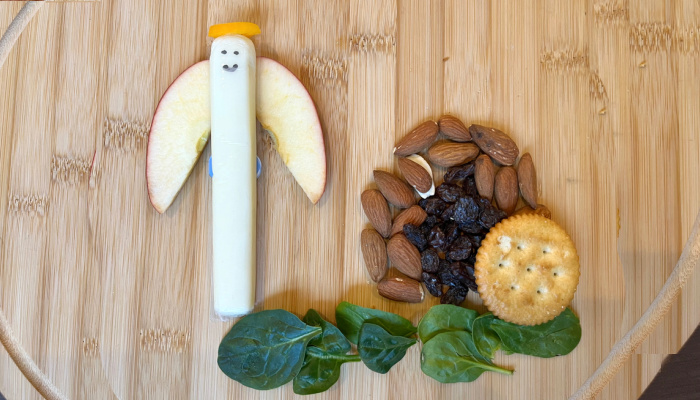
9 Best Edible Art Projects for Blind Kids
Crafts can easily be adapted to use edible materials so that tasting is both okay and encouraged.
Cooking and Kitchen Play, Holiday Crafts and Ideas
Easter Resurrection Snack
This Easter Resurrection Snack will delight your little ones. With these healthy ingredients, you can teach your child the true meaning of Easter.
Cooking and Kitchen Play
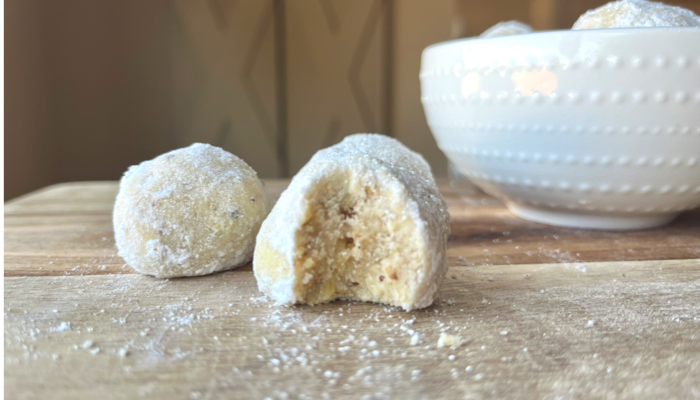
Sparkle Snowball Cookies
These sparkle snowball cookies are simple to make. The fun sprinkles make them an afternoon treat sure to delight your kids!