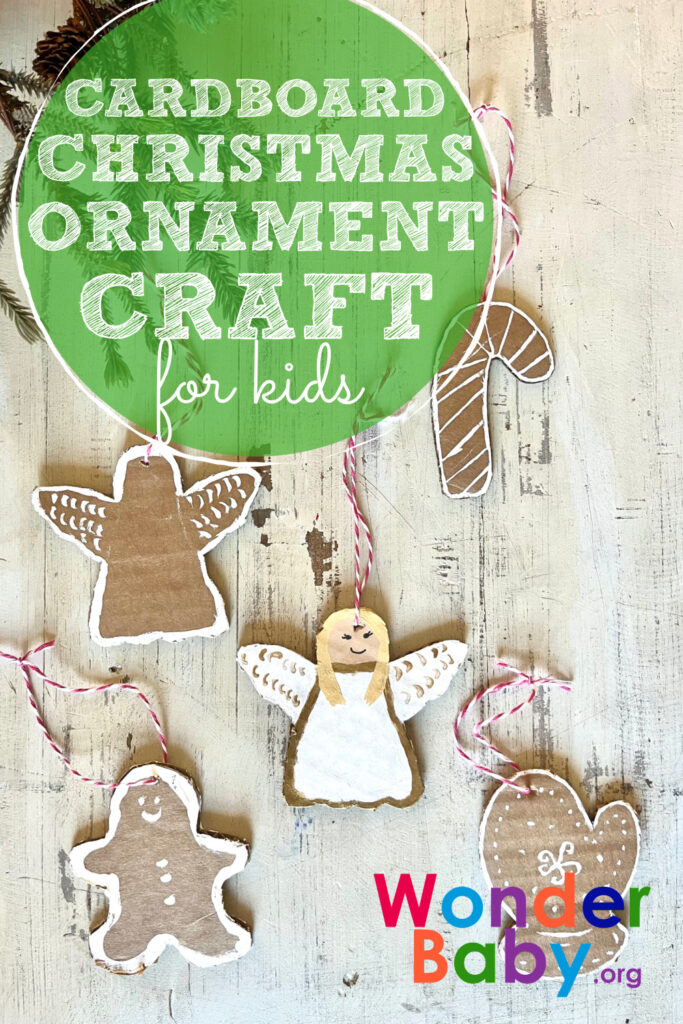
Cardboard Christmas Ornament Craft

This post may contain affiliate links; please see our terms of use for details.
For Christmas last year, my kids and I created a village of gingerbread houses made out of cardboard. They turned out so cute I saved them and put them up again this year. This gave me the idea to create other Christmas items out of cardboard that we could reuse each year.
After grabbing all the empty boxes we had lying around and brainstorming ideas, we decided Christmas ornaments were the perfect craft. They’re not very big and wouldn’t take up much room in storage. Plus, the kids could each make several of them in whatever shapes they desired.
With just white paint and cardboard, it’s amazing how beautiful these ornaments turned out! Even our littlest crafter was able to join in the fun and create beautiful keepsakes.
If you’re looking for a fun way to get your kids involved in Christmas decorating, this is it. Much like Christmas cookie decorating, this Cardboard Christmas Ornament Craft might be one to repeat year after year.
Cardboard Christmas Ornaments: What You’ll Need
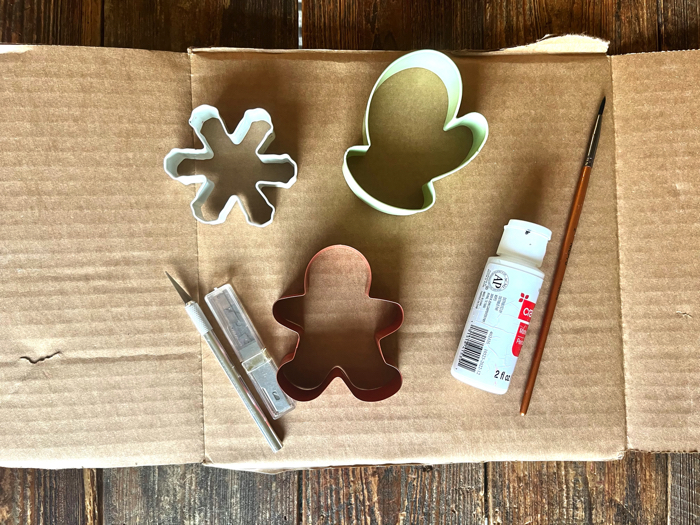
The supplies for this craft are minimal. Here’s all you’ll need:
Materials:
- Cardboard
- White Paint Pen
- String
- White Glitter (Optional)
- Cookie Cutters
Other Equipment:
- Razor Blade
Directions:
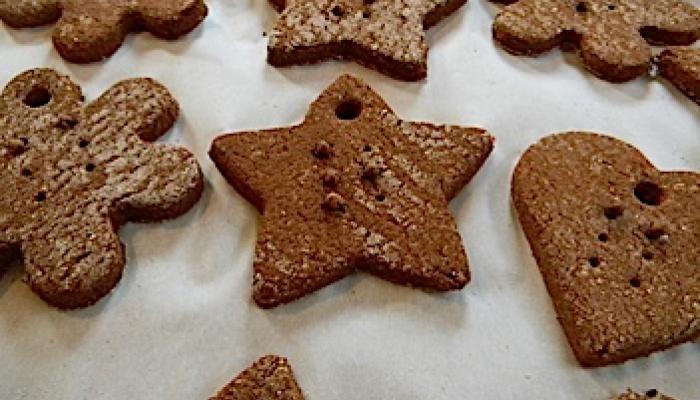
Step 1: Gather some old boxes and cut out several large sheets of cardboard to use for the ornaments.
Step 2: Select cookie cutters in the shapes you’d like to make the ornaments. You’ll be tracing around the cookie cutters to create the lines for cutting.
If you don’t have cookie cutters, you can print out silhouettes of items like a gingerbread man, reindeer, house, or snowman and trace those instead. If you’re confident in your free-hand abilities, you can simply draw the outlines on the cardboard. I need a guide to help me make lines and opted for cookie cutters.
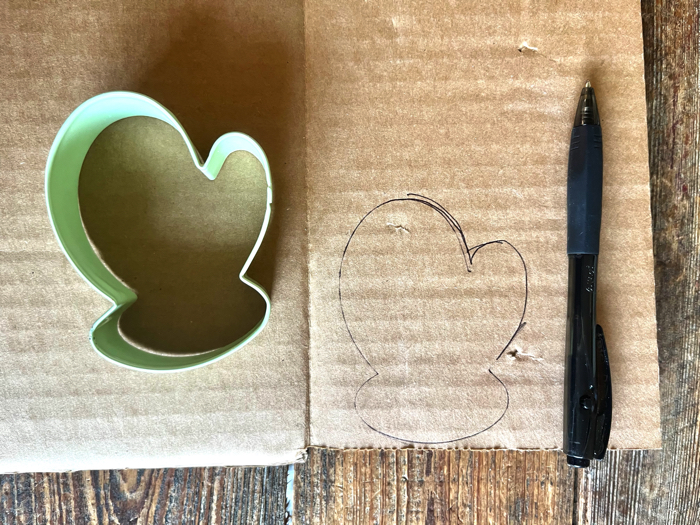
Step 3: Place the cookie cutters on the cardboard and trace a line around the outside of the cutter. You can also dip the cookie cutter in a small amount of white paint on a plate. This would allow you to “stamp” the outline of the object instead.

Step 4: Using a sharp razor blade, cut the shapes out of the cardboard. Be sure your children don’t have access to these blades while you are working for safety reasons. This is also a good time to teach them about safety with sharp objects.
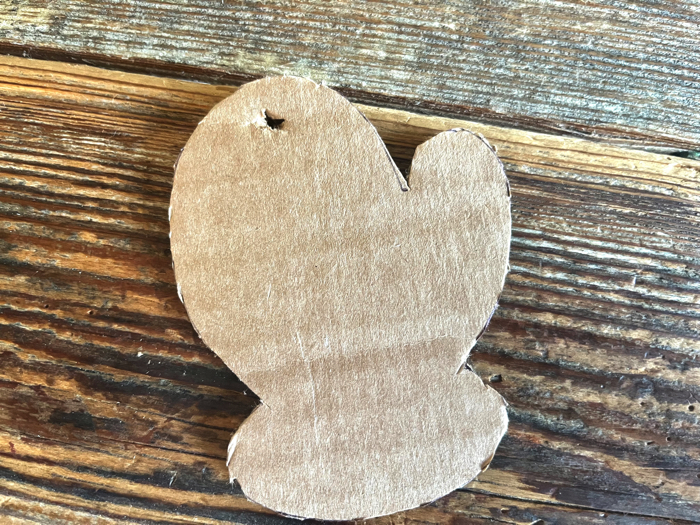
Step 5: Cut small holes in each ornament for the strings to attach to.
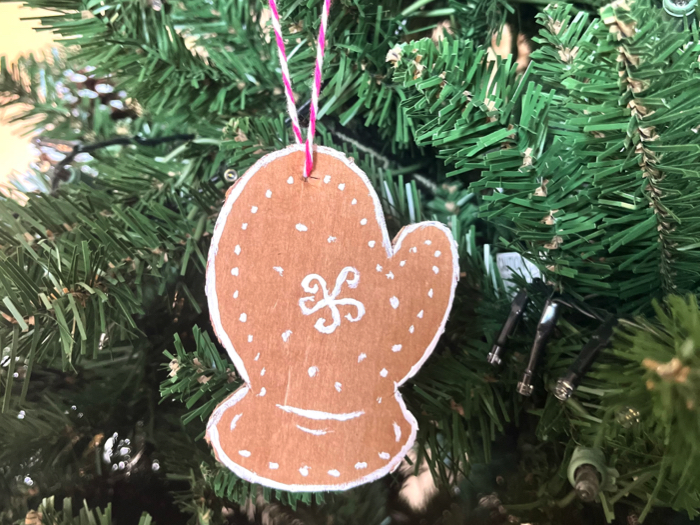
Step 6: Give your child white paint pens or paintbrushes and allow them to outline, fill in, or design each ornament as they please. The great thing about these ornaments is that they’ll look cute no matter how they are decorated. Even the messiest painter will create a beautiful, snowy scene with the white paint pen.
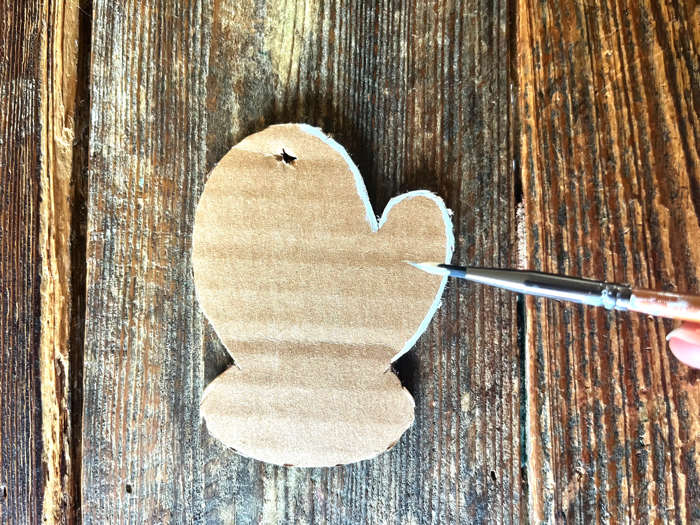
Step 7: If your child wants to add glitter or other embellishments to the ornaments, this is the perfect time. While the paint is still wet, sprinkle the glitter over the lines. Shake the excess glitter off when finished.
Step 8: Allow the cardboard ornaments to dry, and then add the strings for hanging.
What else can I use these cardboard ornaments for?
These cute cardboard figures can easily be transformed into other items around the house. If you add magnetic tape to the back, you can make them into fridge magnets instead. We love creating holiday fridge magnets, like our gratitude fridge magnets we made for Thanksgiving.
These would also be adorable strung on a string as a banner for the holidays. You could use them to adorn your mantel or lay them across your Christmas table setup.
Another way we plan on using these ornaments this year is as Christmas present tags. How cute would these be tied on some packages with string? It would add a personal touch to every gift!
What other embellishments can we add to the ornaments?
If you’d like to add pops of color to the ornaments, there are plenty of other items you could let your child add. For example, the snowman would look cute with a ribbon glued on as a neck scarf. Your child might love to glue beads on the gingerbread house to make it look like candy.
Googly eyes, sequins, and glitter are all fun items to use to change up the ornaments.
What are other homemade ornaments we can make?
Homemade ornaments are not only fun to make, but they are great mementos to save as your children grow. Here are a few other homemade ornament ideas to try:
Apple Cinnamon Ornaments
I remember making these ornaments when I was in elementary school. These are a Christmas classic and smell fantastic! For parents of visually impaired children, you can easily make your own braille apple cinnamon ornaments to delight your child this season.
All you need is applesauce, cinnamon, and some creativity. These are too easy to pass up on.
Christmas Wreath Ornaments
Though there are plenty of Christmas wreath ornament ideas online, one of my favorites is the Apple Jacks Christmas Wreath Ornament. Similar to the apple cinnamon ornaments, this will smell fantastic on your tree. It’s also a great tactile Christmas ornament that doesn’t need much assembly.
You can also create a wreath by stringing buttons, bells, or wooden beads together in a circle. Add a bow at the top with some glue, and you’re done.
Reindeer Ornaments
Many of us have probably seen the classic clothespin reindeer ornament many children make in school. I have made these with all of my children, and it always brings us joy.
I also like variations of that reindeer, such as this Hand and Foot Reindeer Ornament. It’s not only super simple to make, but it allows you to preserve your child’s handprint and footprint for years to come.
How can I make these ornaments tactile?
To make these ornaments tactile, you can use puff paint instead of flat paint. The puff paint would create a rich, tactile design on the ornaments. My little ones love the feel of puff paint designs.
You could also add items like feathers, puffy stickers, ribbons of different textures, or small buttons or beads.
What activities can I add to this craft for enrichment?
Christmas is the perfect time for new traditions and memory-making. Here are a few ways to extend this activity and create new holiday memories:
No products found.
- Read the book Christmas Cookie Day by Tara Knudson.
- Bake and decorate Christmas cookies together.
- Create popcorn garland to decorate the tree or hang candy canes on the branches.
- Collect pinecones and turn them into miniature Christmas trees. Allow your child to decorate them with paint and jewels or beads.
How can I extend the life of these homemade ornaments?
Over time, these ornaments might get bent, torn, or start to fade. If you want to preserve them so they’ll last, coat them with Modge Podge when finished decorating them. Just a light coat of Modge Podge will create a protective barrier to keep the paint from chipping and the cardboard from easily bending.
Related Posts

Holiday Crafts and Ideas
Sensory Pumpkin Decorating for Kids Who Are Blind
Create a sensory pumpkin with yarn, buttons, and fabric! A fun, non-carving fall craft for blind kids that builds tactile and fine motor skills.

Holiday Crafts and Ideas
5 Accessible Thanksgiving Crafts for Kids Who Are Blind or Visually Impaired
Celebrate Thanksgiving with five accessible, sensory-rich crafts for kids who are blind or visually impaired.

Holiday Crafts and Ideas
Should Parents Lie to Their Kids About Santa Claus?
Should parents lie about Santa? Find out how to balance trust, magic, and holiday traditions right here!