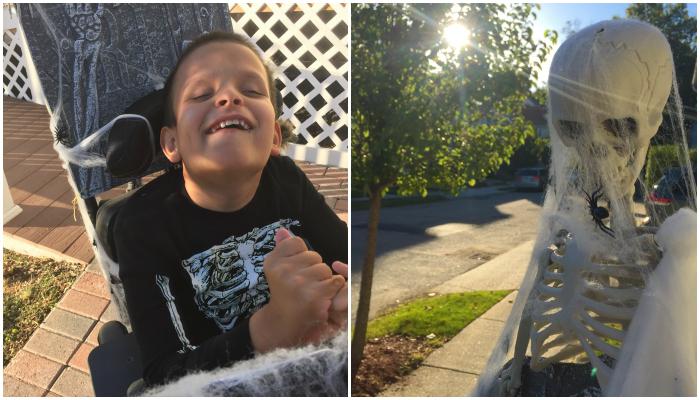
Scary Skeleton Halloween Wheelchair Costume
This post may contain affiliate links; please see our terms of use for details.
It’s Halloween time again and I think this may be Ivan’s favorite holiday! What’s not to like? You get to stay up late, wear funny costumes, get LOTS of attention and eat LOTS of candy!
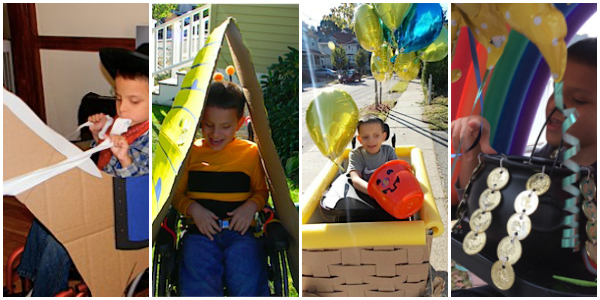
We always try to create a costume for Ivan that incorporates his wheelchair and that is big and exciting. Because… Ivan loves the attention! In the past, Ivan has been a cowboy on his horse, a bee in a beehive, a boy in a hot air balloon and a pot of gold at the end of the rainbow.
Those were all really fun, but you know what? Ivan is 10 years old now so I wanted to see if we could let him help choose his costume this year. As a non-verbal child, this takes a little creativity.
So we visited the Halloween section at Target and let Ivan check out the merchandise.
We checked out ninja swords and gorilla costumes…
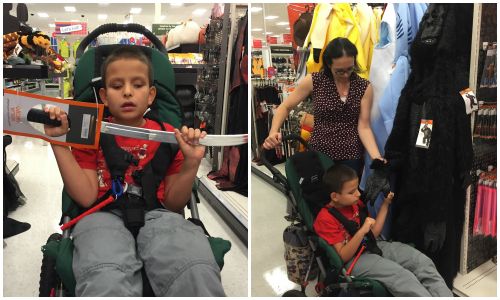
But Ivan LOVED the spooky stuff! Especially the ghosts and skeletons and anything that made scary sounds (like the record player below that played spooky music):
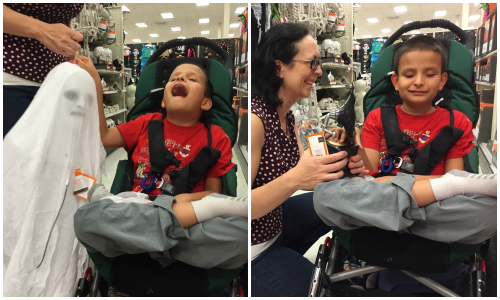
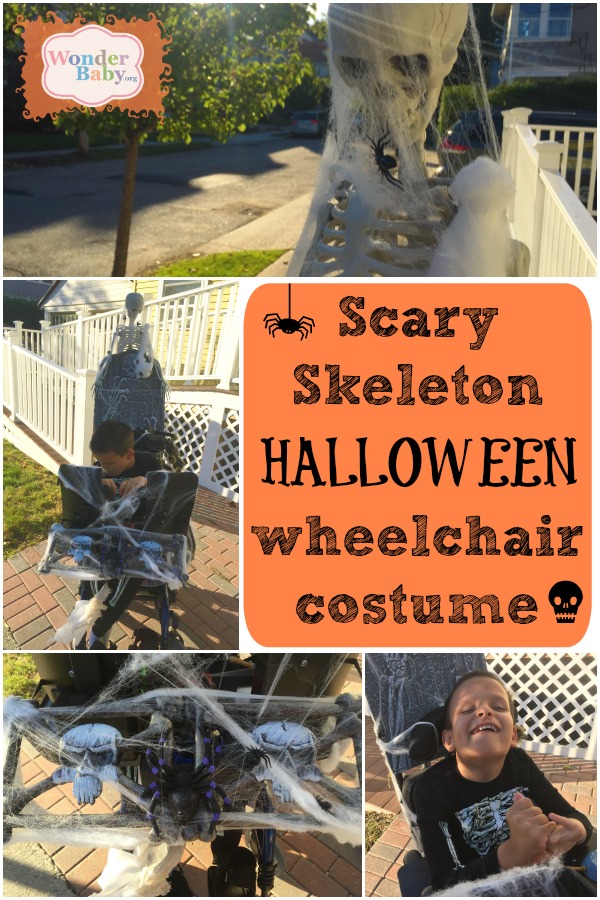
OK Ivan! So we’re going spooky this year. We decided that Ivan would be a skeleton in a graveyard. This is how we made his costume…
What You’ll Need:
- A styrofoam tombstone
- A plastic skeleton
- Lots and lots of fake spider webs
- Plastic spiders
- Other fun plastic ghosts, snakes, bats or rodents
- A spooky sound machine< (this is a must as far as Ivan is concerned)
- Skeleton PJs (we got ours at Old Navy)
How to make your skeleton costume:
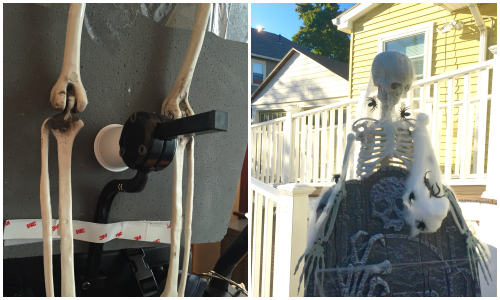
- I like to use the wheelchair parts to the best of my abilities when making Ivan’s costumes, so for the tombstone I removed the headrest and used the headrest bar to poke a hole through the styrofoam and then re-attached the headrest with the tombstone in place. I used a recycled K-cup to fill in the extra space and keep the tombstone snug and some sticky velcro to keep it in place.
- I used needle and embroidery thread to attach the skeleton to the top of the tombstone (the skeleton has lots of spaces and holes to run the thread through and a needle goes through styrofoam quite easily so “sewing” the skeleton on to the tombstone seemed the best approach).
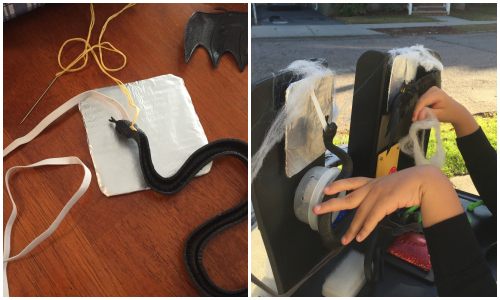
- Ivan’s chair also has a great sensory tray (created by his OT at school) with interchangeable blocks velcroed to the tray, so I created a couple new blocks (I just cut squares out of cardboard and wrapped them in foil) with bats and snakes attached through elastic so Ivan could have a little resistance when he tugs on them (I used embroidery thread and needle here too). I also added a spooky sound machine to the tray so Ivan can make scary sounds by just pressing the buttons!
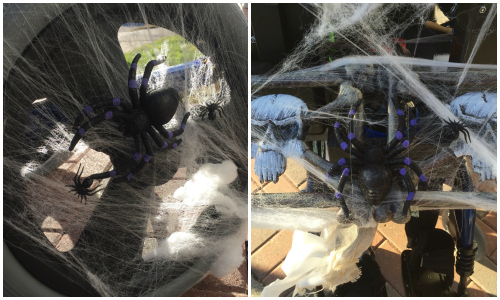
- And then… I just wrapped the whole chair in spider webs and spiders! I also added a few more skeletons to the front of the chair for a little more spookiness.
- As with all of Ivan’s costumes, Ivan’s part is always simple. All he has to do is wear skeleton PJs and play with the bats, spiders and snakes on his tray and press the buttons on his spooky sound machine. Ivan is not the type of kid who will wear masks or face paint or hats… so we try to keep his actual costume as simple as possible and focus all the attention on the things around him.
I think he likes it! If you have any fun Halloween ideas, please let us know in the comments below!
Related Posts

Holiday Crafts and Ideas
Should Parents Lie to Their Kids About Santa Claus?
Should parents lie about Santa? Find out how to balance trust, magic, and holiday traditions right here!
Holiday Crafts and Ideas, Special Needs
5 Tips for a Peaceful Thanksgiving with Your Child with Disabilities
Thanksgiving can be a joyful yet overwhelming holiday, especially for families with children who have sensory, motor, or dietary needs.
Holiday Crafts and Ideas
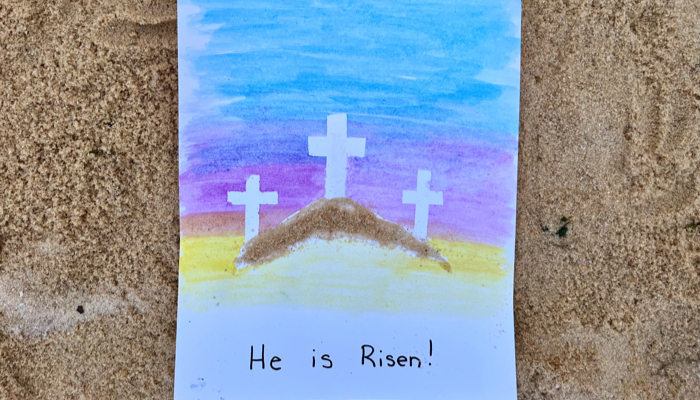
Resurrection Water Color Craft
Celebrate Easter with this Resurrection Water Color Craft, perfect for little ones. They’ll love painting the beautiful sky and adding sand to finish it off.