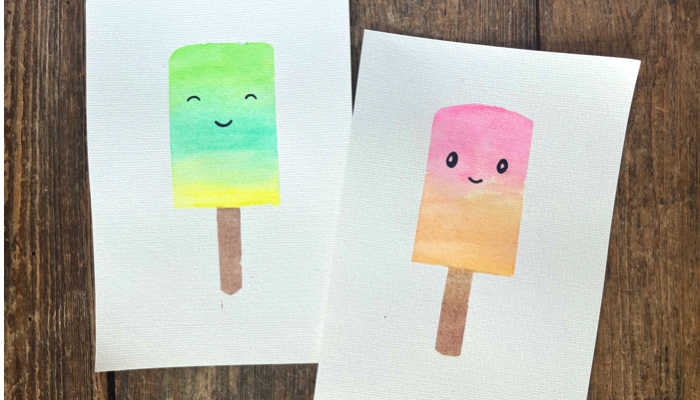
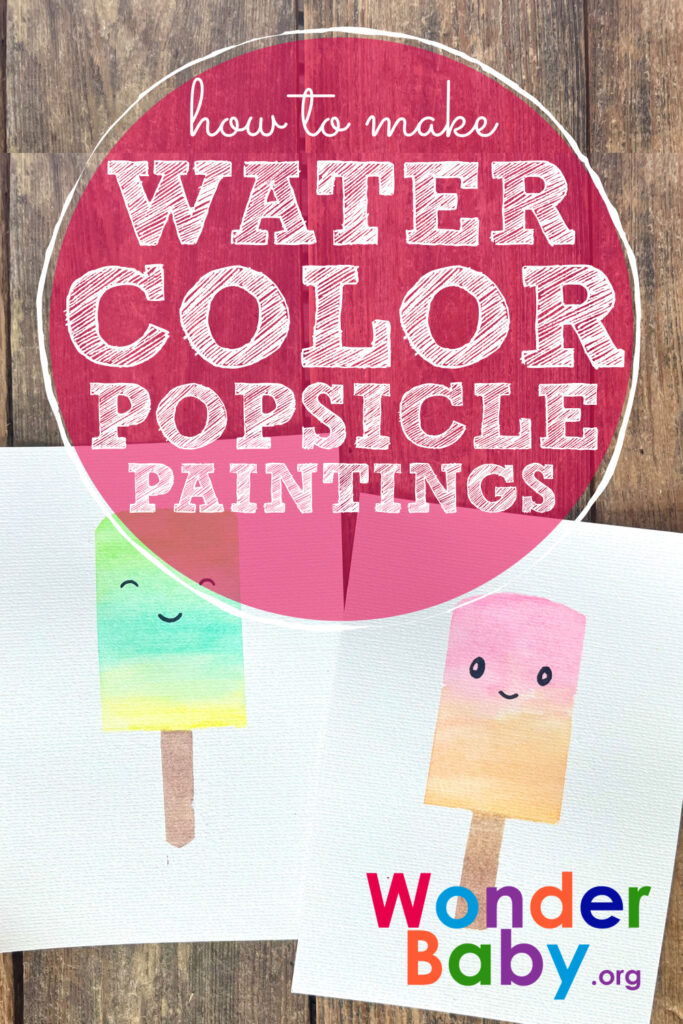
Watercolor Popsicle Painting for Kids
This post may contain affiliate links; please see our terms of use for details.
My kids love watercolor painting. It’s one of my favorite fine motor activities for preschoolers. There are so many valuable skills that children can gain while painting.
Recently, I wanted to create a few summer artwork pieces to hang in our homeschool room. When I think of summer, I think of playing kiddie pool games in the backyard and eating fruity popsicles. So the kids and I decided watercolor popsicle paintings would be the perfect summer painting project.
This watercolor popsicle painting activity is perfect for all ages and will brighten up your home as you proudly display your child’s artwork. The best news is that you don’t need much to create these adorable paintings!

Watercolor Popsicle Painting: What You’ll Need
Using just a few basic supplies, you can help your little one make a watercolor popsicle that looks good enough to eat.
Materials:
- 1 Sheet of watercolor paper
- 1 Roll of masking tape
- Watercolor paints
- Paintbrushes
- Sharpie or black washable marker
Other Equipment:
- Scissors
- Cup of water
Directions:
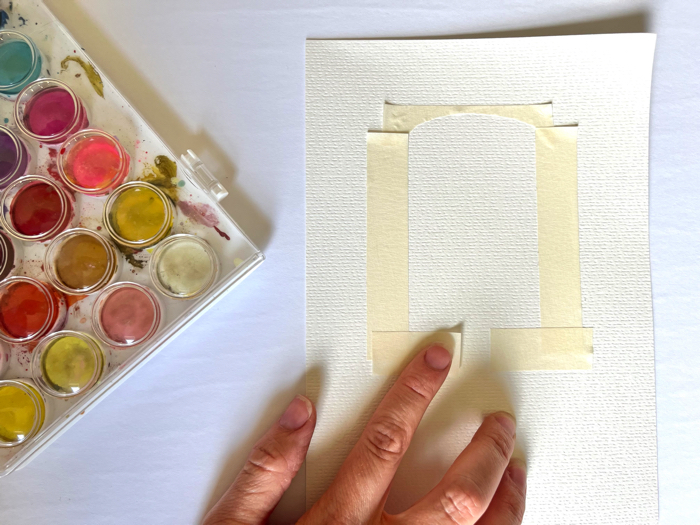
Step 1: Begin by placing a piece of watercolor paper on your work surface. Using the tape, create an outline of the popsicle for your child to fill in with watercolor paint. Add more tape around the outline to create a wider border for little hands.
Helpful Hint: I created the top of the popsicle by folding the tape in half and cutting an arch out of it.
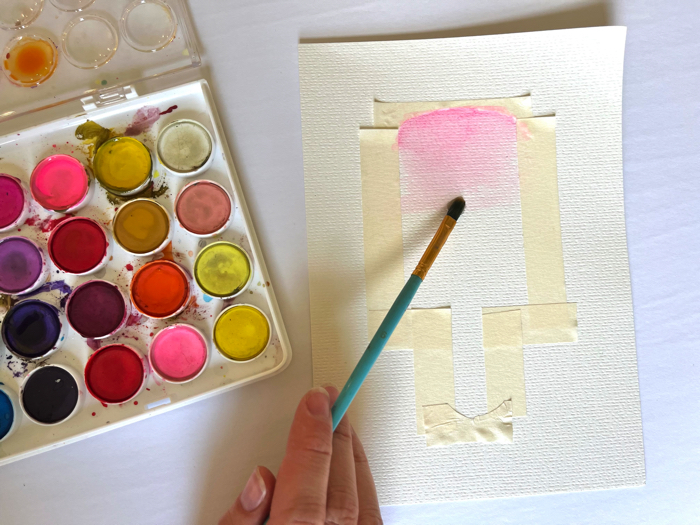
Step 2: Once the tape is secure, have your child paint inside the tape with watercolors of their choice. This is a great opportunity to teach them about color combinations. Show them how to mix two colors together to create a new color.
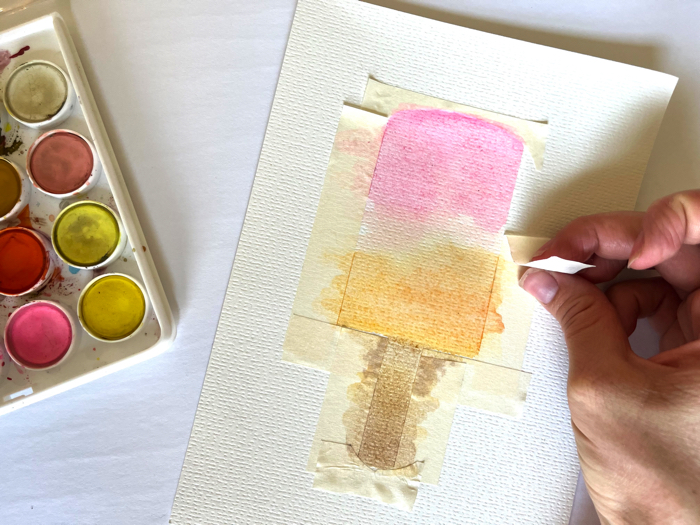
Step 3: When your child is finished, remove the tape slowly. Removing it too quickly can rip the paper. If you find that the tape is too strong for your paper, try one of the suggestions below for other types of tape to use.
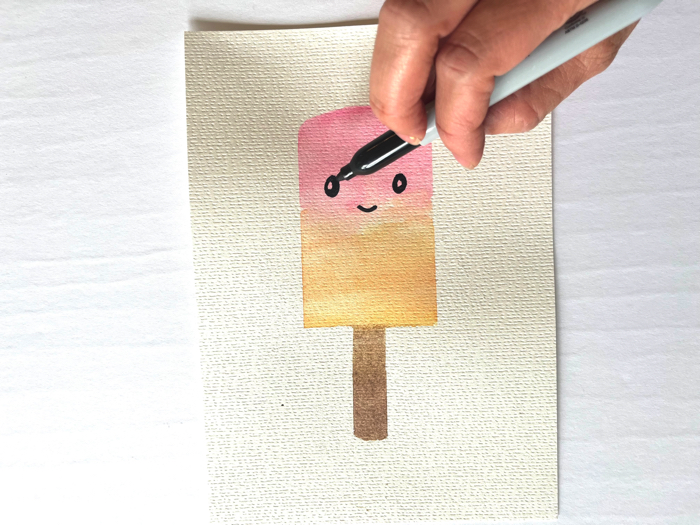
Step 4: Add eyes and a mouth. We used a Sharpie to create eyes and mouths. However, you can use any kind of marker.
If your child is little, they may want your help drawing the shapes needed for the facial features. You might consider making an outline of the eyes for them to color in. You could also have them draw simple curves or straight lines instead of ovals.
This is a great opportunity to practice handwriting skills as well as learn shape names.
Your child’s popsicle painting is complete and ready to display.
What can I use instead of masking tape?
If you find that masking tape is too sticky for your watercolor paper, there are alternatives. Painters tape and artist’s tape are both great options. Alternatively, you can press the masking tape to your shirt a few times to make it less sticky.
What type of paper works best with watercolor paint?
Watercolor paper is the only paper I’ve found to be absorbent enough for watercolors. We’ve tried cardstock paper in the past and it wrinkled up. Paper that isn’t absorbent enough will fall apart as your child paints.
Don’t worry about spending a ton on high-quality watercolor paper. A 140lb watercolor paper will do just fine for beginners. Teaching your child how to paint softly will also help the paper hold up.
What else can we add to the painting?
To spruce the painting up, you can add glitter, sprinkles, sequins, or whatever else your little one imagines up. You might even add googly eyes instead of drawn-on eyes for these little popsicle people.
What’s the best way to display my child’s painting?
I like to use kids’ artwork frames to display work around the house. These frames open from the front and change out the pages quickly.
Most of them can store other pages in the frame as well. This allows you to quickly switch out your child’s artwork to follow the seasons.
You can also create an artwork wall by using twine and thumbtacks. Simply stretch out a long piece of twine and attach it to the wall using thumbtacks. Using clothespins, you can easily hang your child’s artwork on the line.
Is watercolor painting good for kids?
Yes! Watercolor painting has a wide range of benefits for little hands and growing minds. Here are a few skills they will develop while painting:
Fine Motor Skills
For starters, learning to use a paintbrush helps to strengthen the muscles in your child’s hands that are needed for writing, cutting, pinching, and other fine motor activities. Giving your child plenty of opportunities for fine motor development will help prepare them for school.
Creativity
Watercolor painting also encourages creativity. When children are allowed to mix colors and create designs, their little minds can expand.
Color Names and Color Mixing
Watercolor painting allows a child to learn about primary colors and the basics to color mixing. Kids love to mix new colors and watch what they create.
To turn this into a language activity for preschoolers, you can encourage your child to name each color they use. You might also have them create new names for the colors they make, such as “racecar red” or “ocean blue.”
What other activities help build fine motor skills?
Building fine motor skills is crucial for a child’s success in school and life. Here are a few other fine motor activities that will help build these skills:
- Writing letters in a salt box.
- Drawing on the sidewalk with chalk.
- Putting coins into a piggy bank (we love the Fisher-Price Piggy Bank).
- Using stamps and ink to stamp a design on paper.
- Using clothespins to hang artwork on a line.
- Rolling out playdough into “snakes” and allowing your child to cut them with playdough scissors.
- Hardcover Book
- Renaud, Anne (Author)
- English (Publication Language)
- 40 Pages – 10/01/2019 (Publication Date) – Kids Can Press (Publisher)
What other ways can I enrich this activity?
To go along with this craft you might enjoy making your own fruit juice or coconut milk popsicles. Popsicles can be made using only a few ingredients and always turn out delicious!
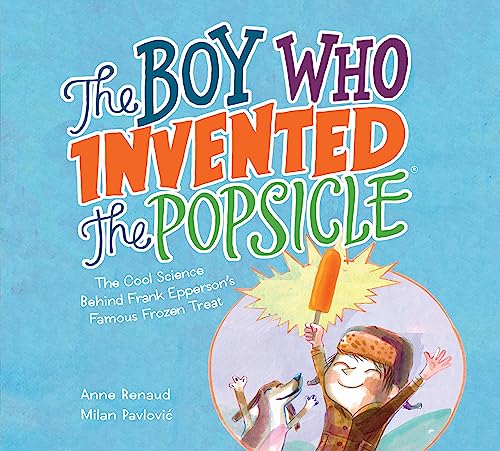
We also love the book The Boy Who Invented the Popsicle: The Cool Science Behind Frank Epperson’s Famous Frozen Treat. This would be perfect to read to find out how popsicles were made and discover the science behind them.
Related Posts

Braille and Literacy, Music Play, Special Needs, Visual Impairment
Braille needs allies. Music can be one of them.
An inspiring look at how music can support Braille literacy, creativity, and inclusion for blind children.

Tactile Arts and Crafts, Visual Impairment
What Does Art Feel Like? A Guide to Tactile Creativity for Blind Children
Discover how blind children explore art through touch. Learn practical ways to support tactile creativity, build early Braille literacy, and nurture imagination with hands-on projects, textures, and accessible art experiences.

Holiday Crafts and Ideas
Sensory Pumpkin Decorating for Kids Who Are Blind
Create a sensory pumpkin with yarn, buttons, and fabric! A fun, non-carving fall craft for blind kids that builds tactile and fine motor skills.